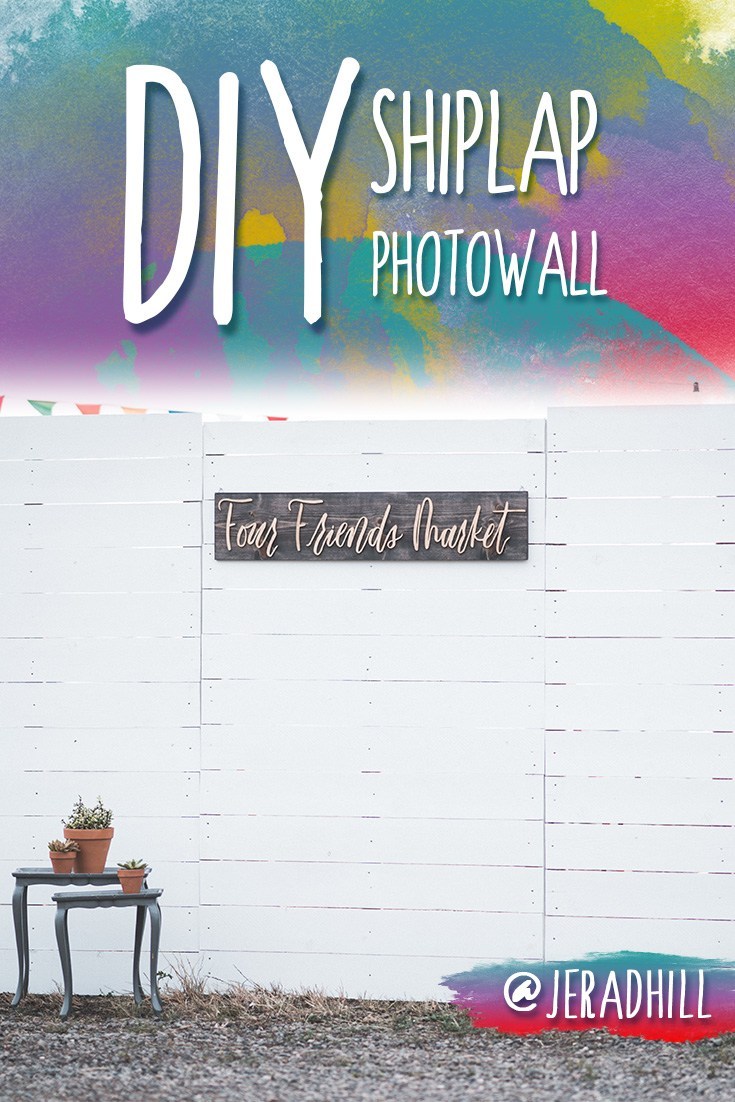
Shiplap is all the craze so when my wife asked me to help her build a backdrop for a photo booth, we thought, “why not shiplap it!” Shiplapping something is not really hard, it just involves cutting and painting the wood. Some hardware stores even have premade shiplap boards, but they are expensive. I wanted to keep this project as cheap as possible, so I used 2x4s and fence boards.
The photo backdrop wall received a lot of comments, so I thought I would do a tutorial on how I built it.
As I mentioned before, I wanted to do this on the cheap. I saw prebuilt fence style walls for $120 and I would have needed three of them. I saw the prefab shiplap boards, but they were $18-$25 each. That would have made the cost of my wall reach $500. No thanks!
I went to Lowe’s to purchase lumber because I happened to be closer to Lowe’s at the time. I ended up needing a few other boards and was closer to HomeDepot and noticed that Lowe’s lumber was higher quality and the boards I went with were 6″ wide where HomeDepot’s are 5.5″ wide. You can see the difference in the middle section of the wall which is slightly shorter than the outside two.
Here are the fence boards from Lowes that I used, hopefully this link always stays up: https://www.lowes.com/pd/Severe-Weather-Common-1-in-x-6-in-x-6-ft-Actual-625-in-x-5-5-in-x-6-ft-Pressure-Treated-Pine-Fence-Picket/3525606
2x4s are 2x4s, do you really need a link?
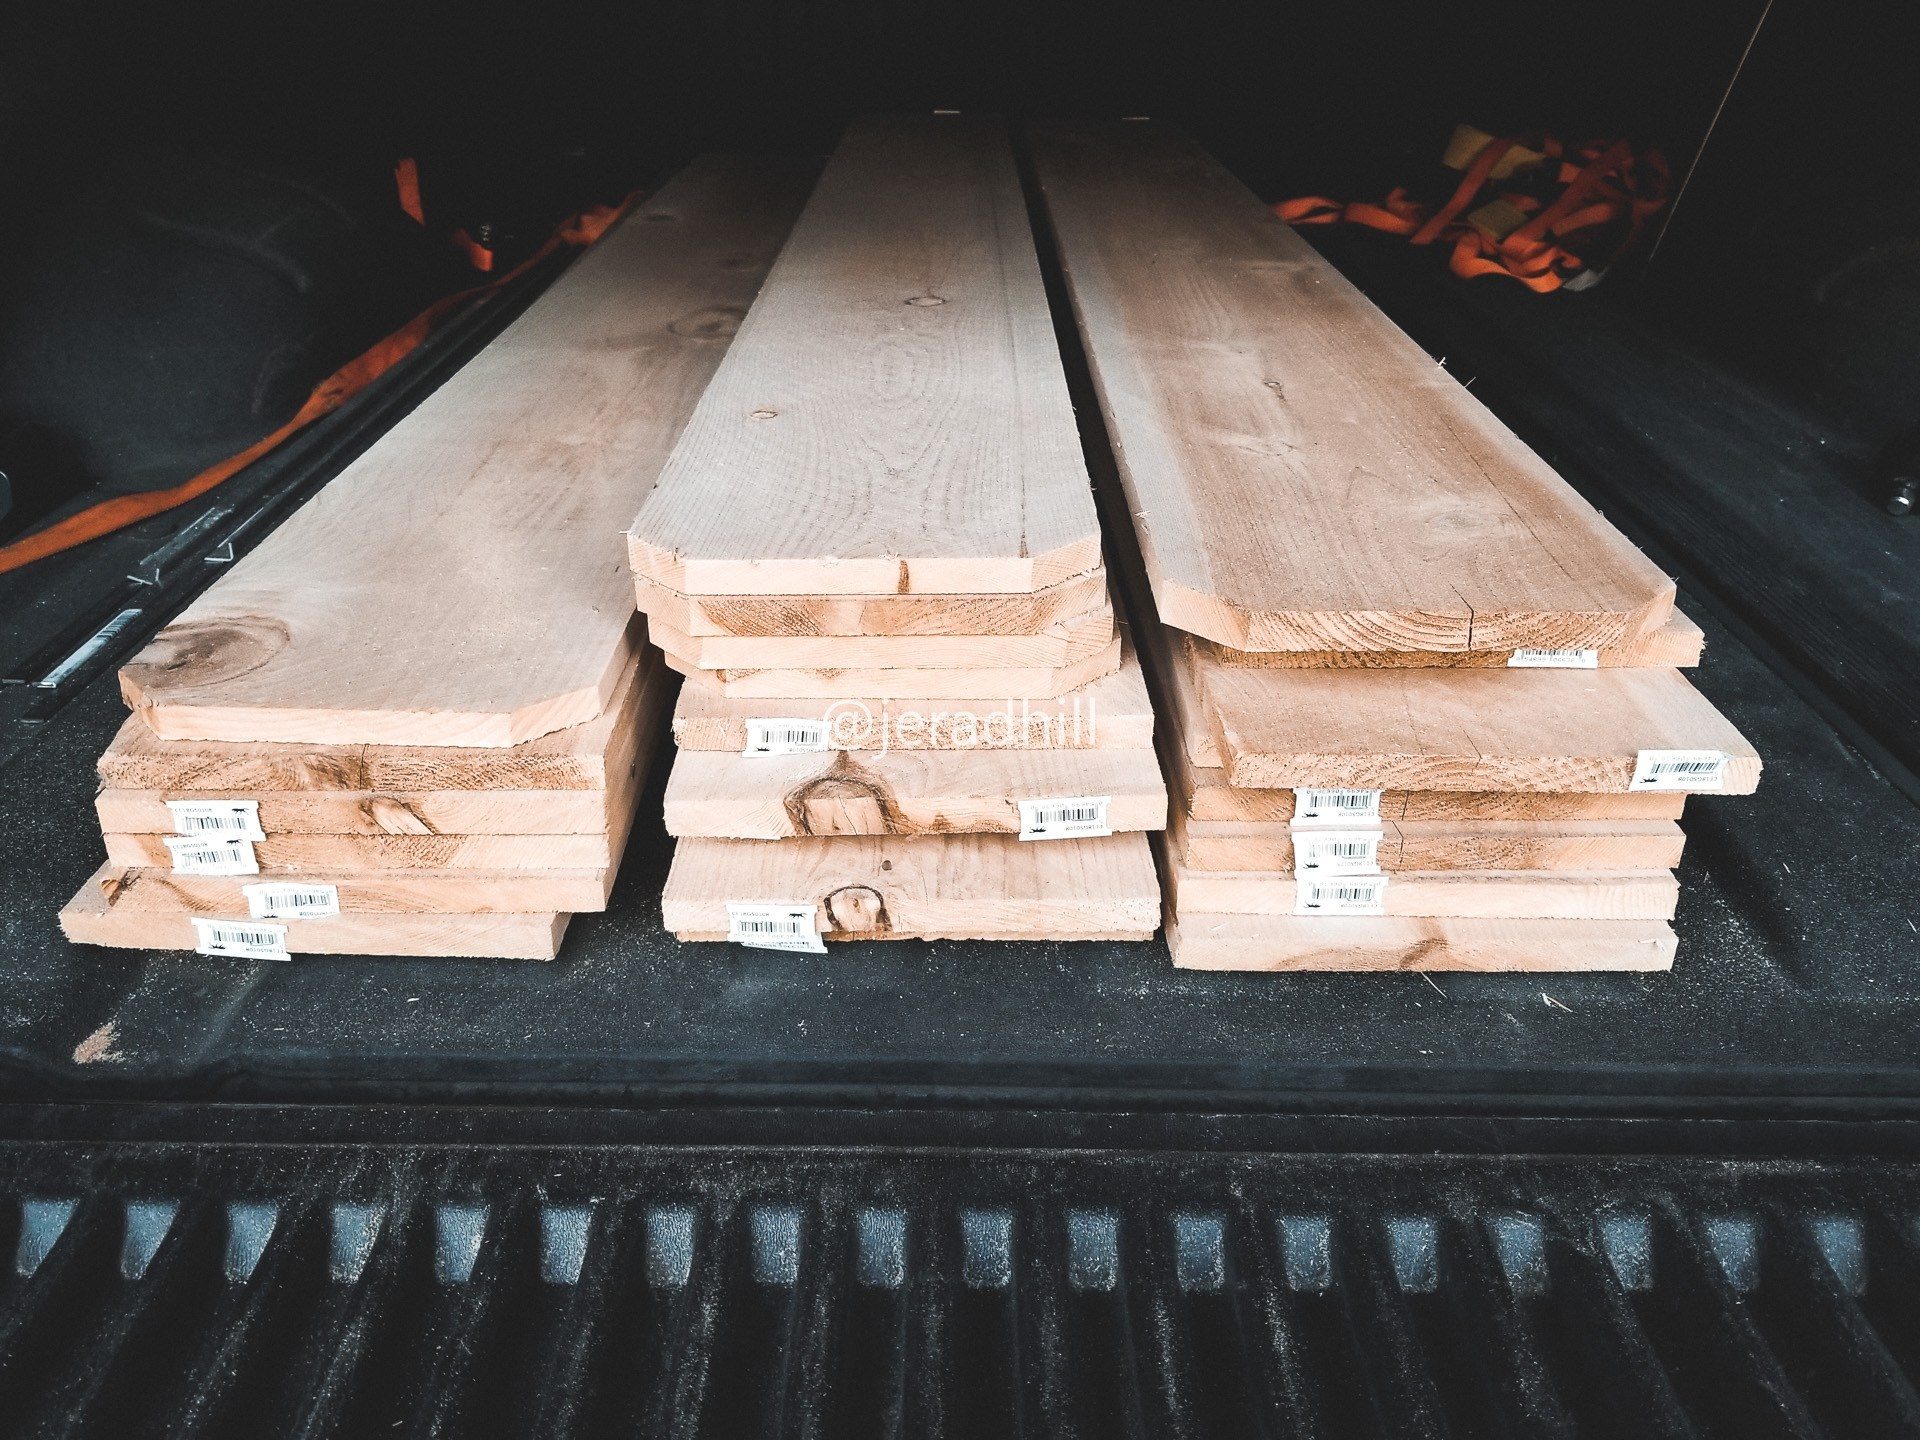
The entire wall is built from 2×4’s and 6 inches by 6 ft fence boards. We bought the cheapest white paint in the place and rolled it on as you will see below.
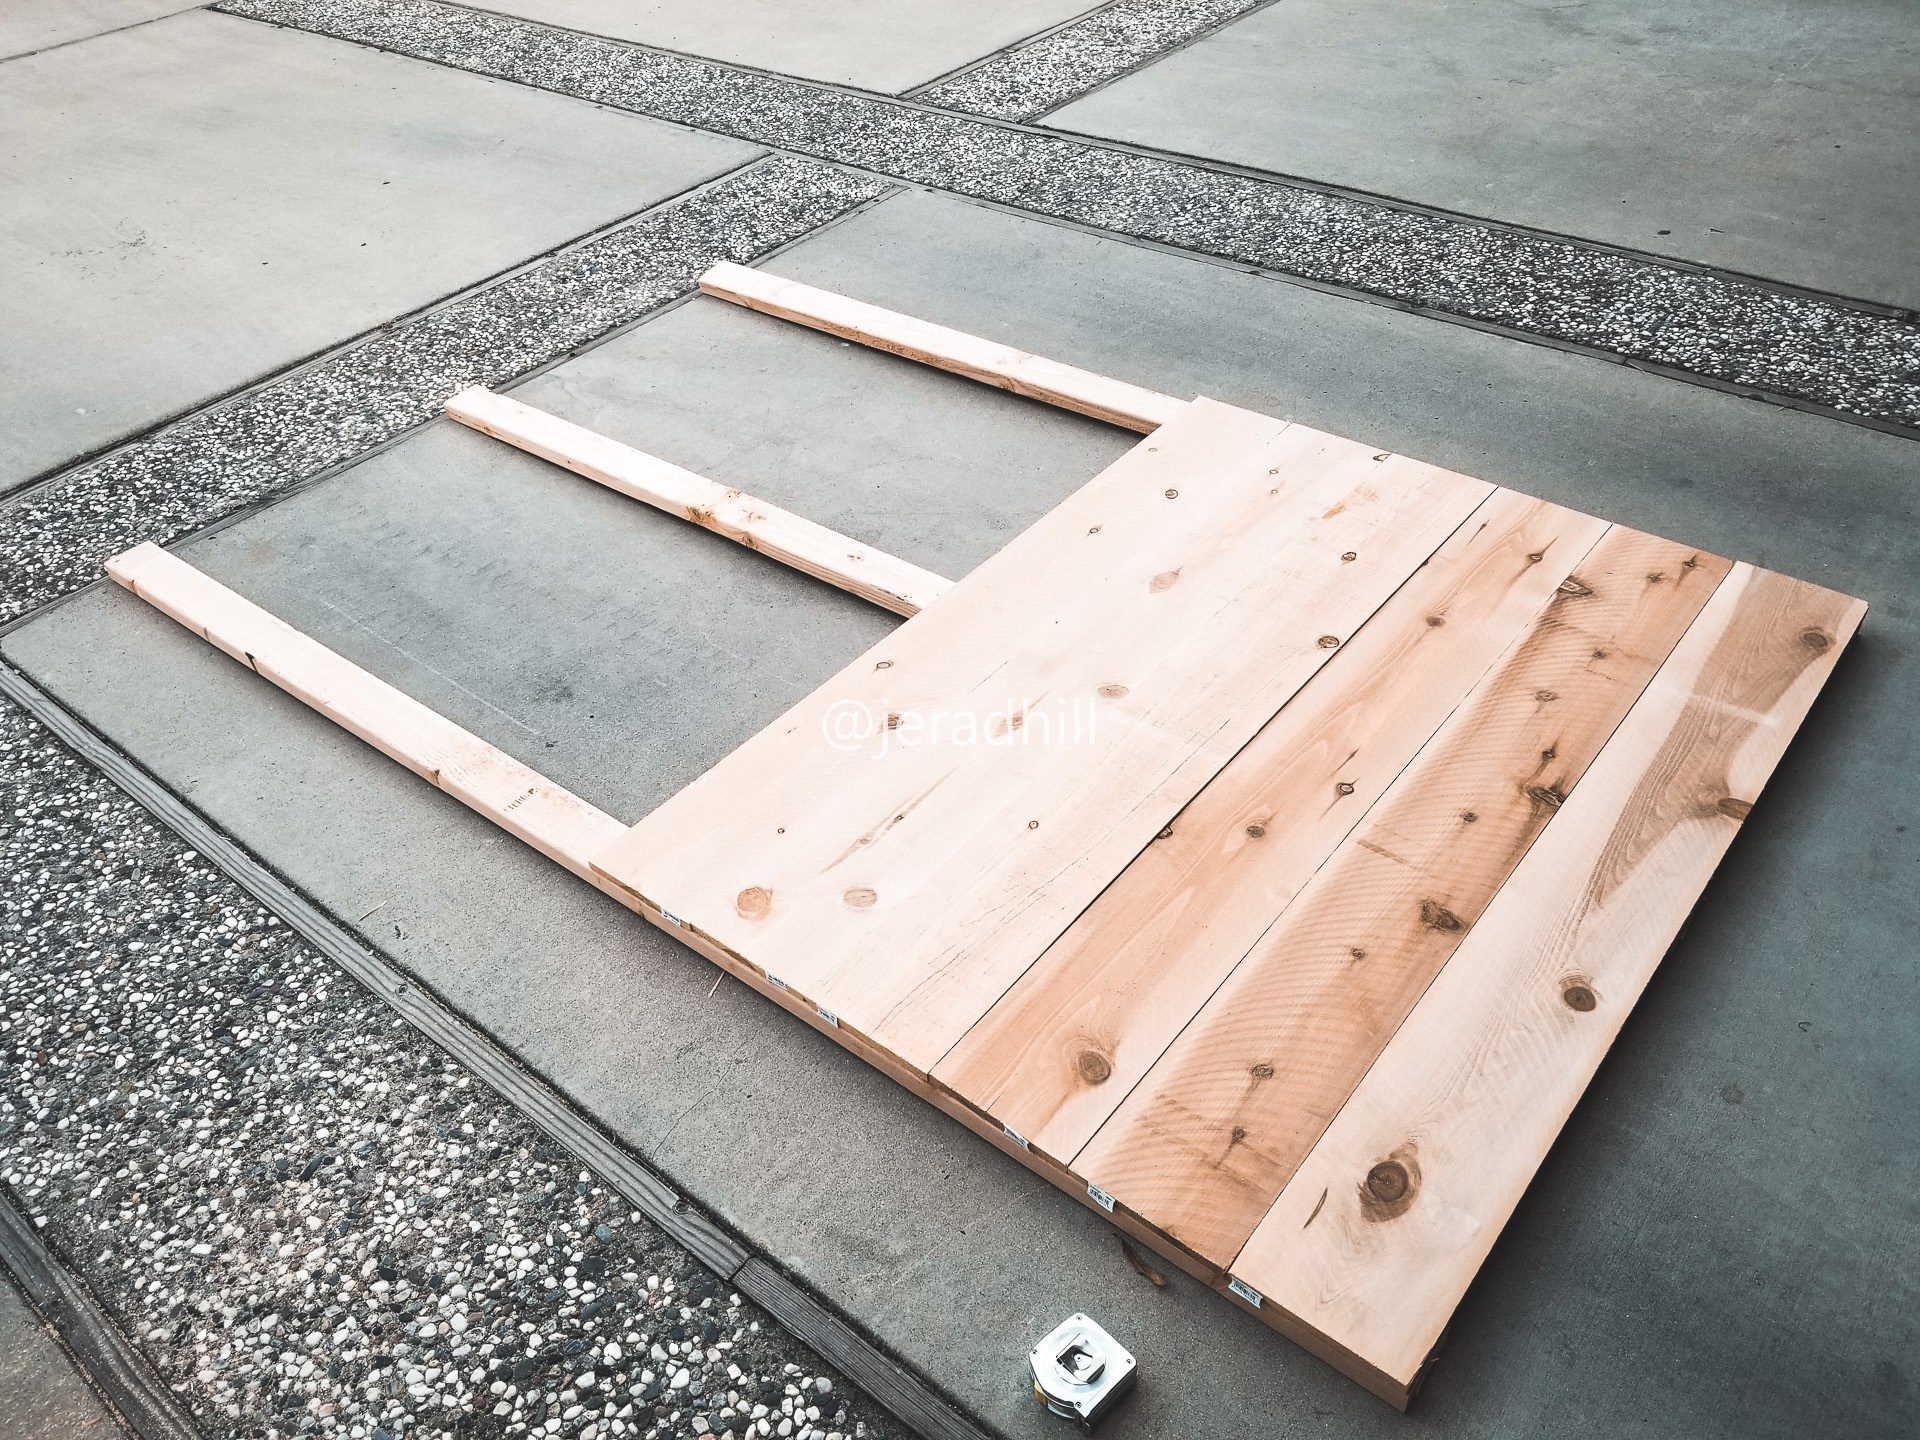
Each wall consisted of three 2×4’s and thirteen fence boards. I used screws to assemble them because I knew I might need to take them apart to store them. I will get to how I secured them so they stood up strong at the end.
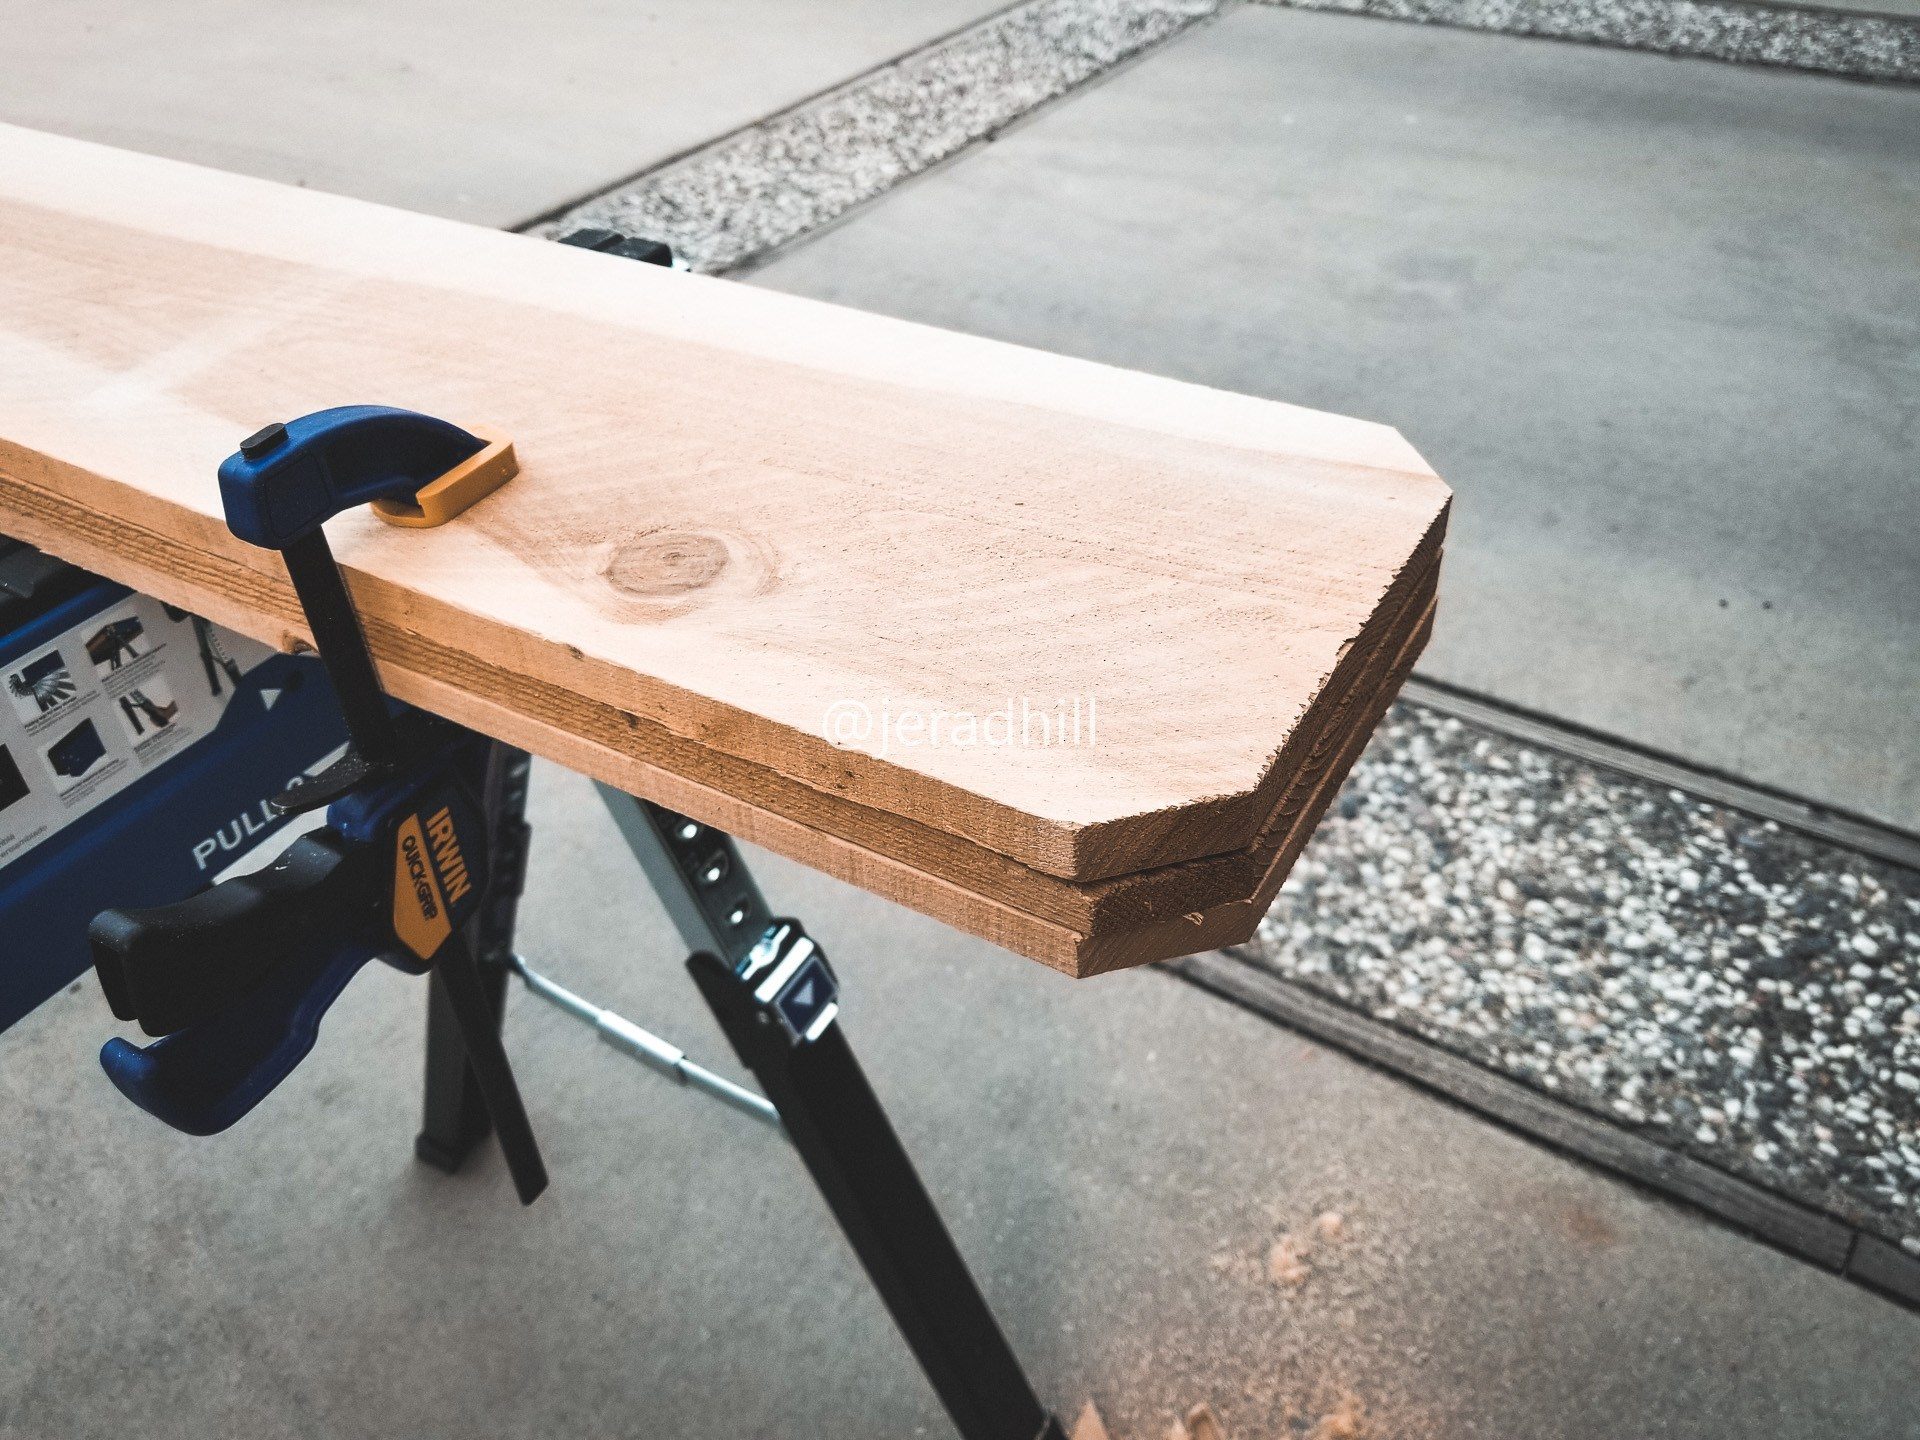
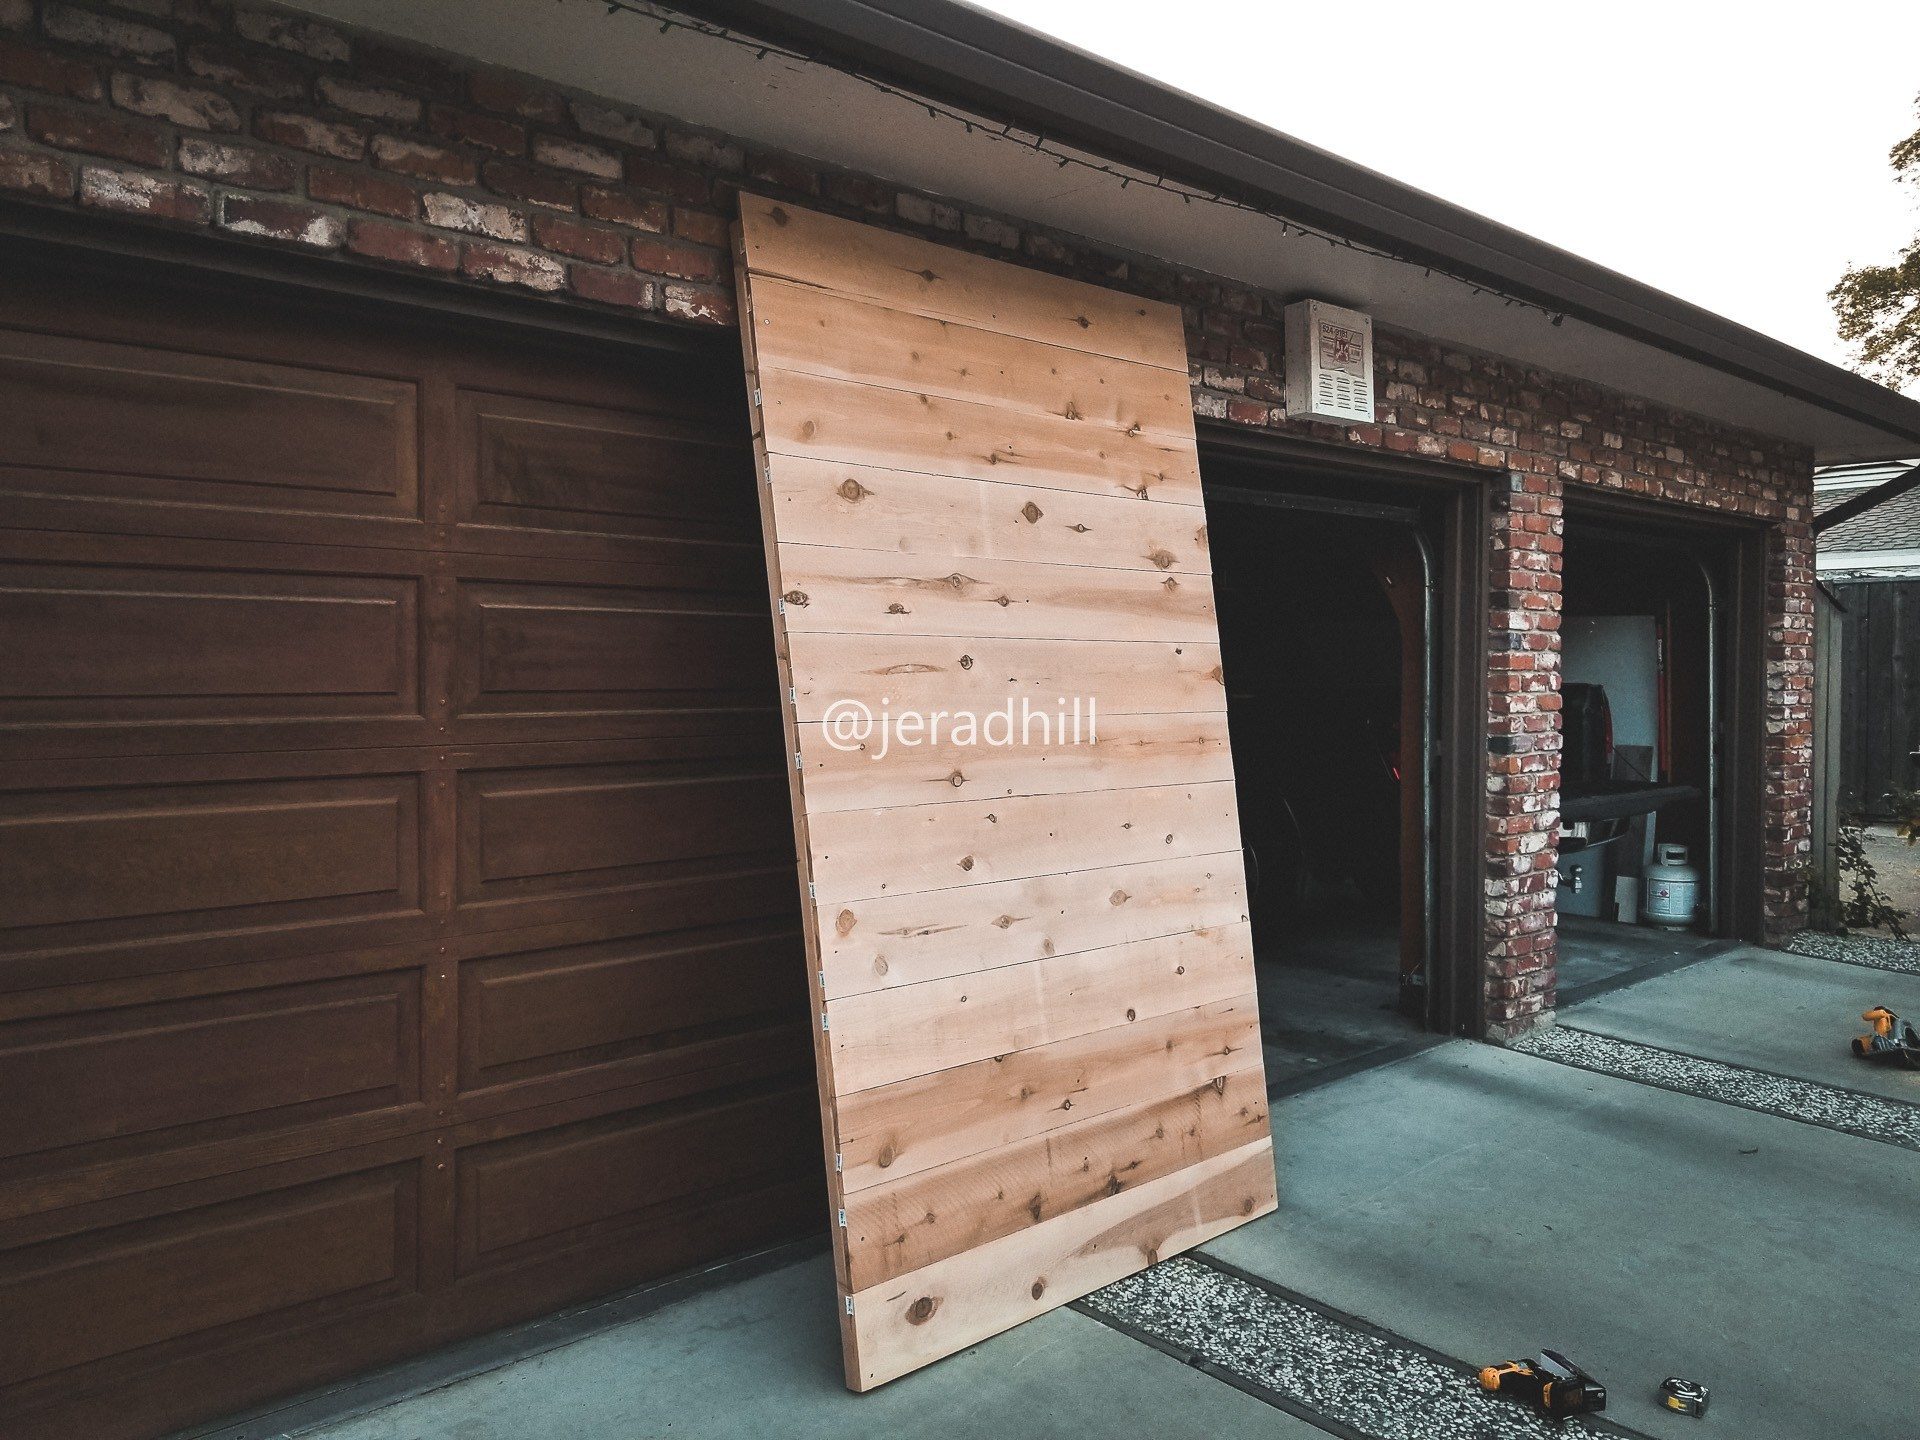
I started by cutting off the top portion of the board because true shiplap doesn’t taper off at the ends like a fence. That took an inch off of the width making each wall five feet eleven inches in width. The walls being almost six feet in width made for an interesting challenge for transporting them. Luckily, I had access to a trailer that was just over six feet wide and ten feet in length. I decided to make the walls 59 inches wide because cutting the boards down to four feet would have just wasted wood. If I had found boards eight feet tall I could have cut them in half.

With my boards cut and three 2×4’s on the ground evenly spaced, I started to lay the trimmed fence boards. I measured across at the bottom, middle, and top to assure I didn’t build a slanted wall. I also measured from corner to corner to assure the wall was square in the corners. This is important to do before you start screwing boards in.
I used 2″ flat-head exterior wall screws. In the past I have used drywall screws, these screws are the same, just a bit tougher: https://www.lowes.com/pd/Hillman-100-Count-10-x-2-in-Flat-Head-Hot-Dipped-Galvanized-Interior-Exterior-Wood-Screws/4258587
The walls came together fast. So fast that my wife was actually frustrated at how little time it took me. I think she hoped it would take actual blood, sweat, and tears. It only took a little bit of sweat, cause it was hot out.
This is the completed first wall. I wanted to stand it up to see how sturdy it was. I basically built a vertical fence. That is what Shiplap is, a vertical fence.
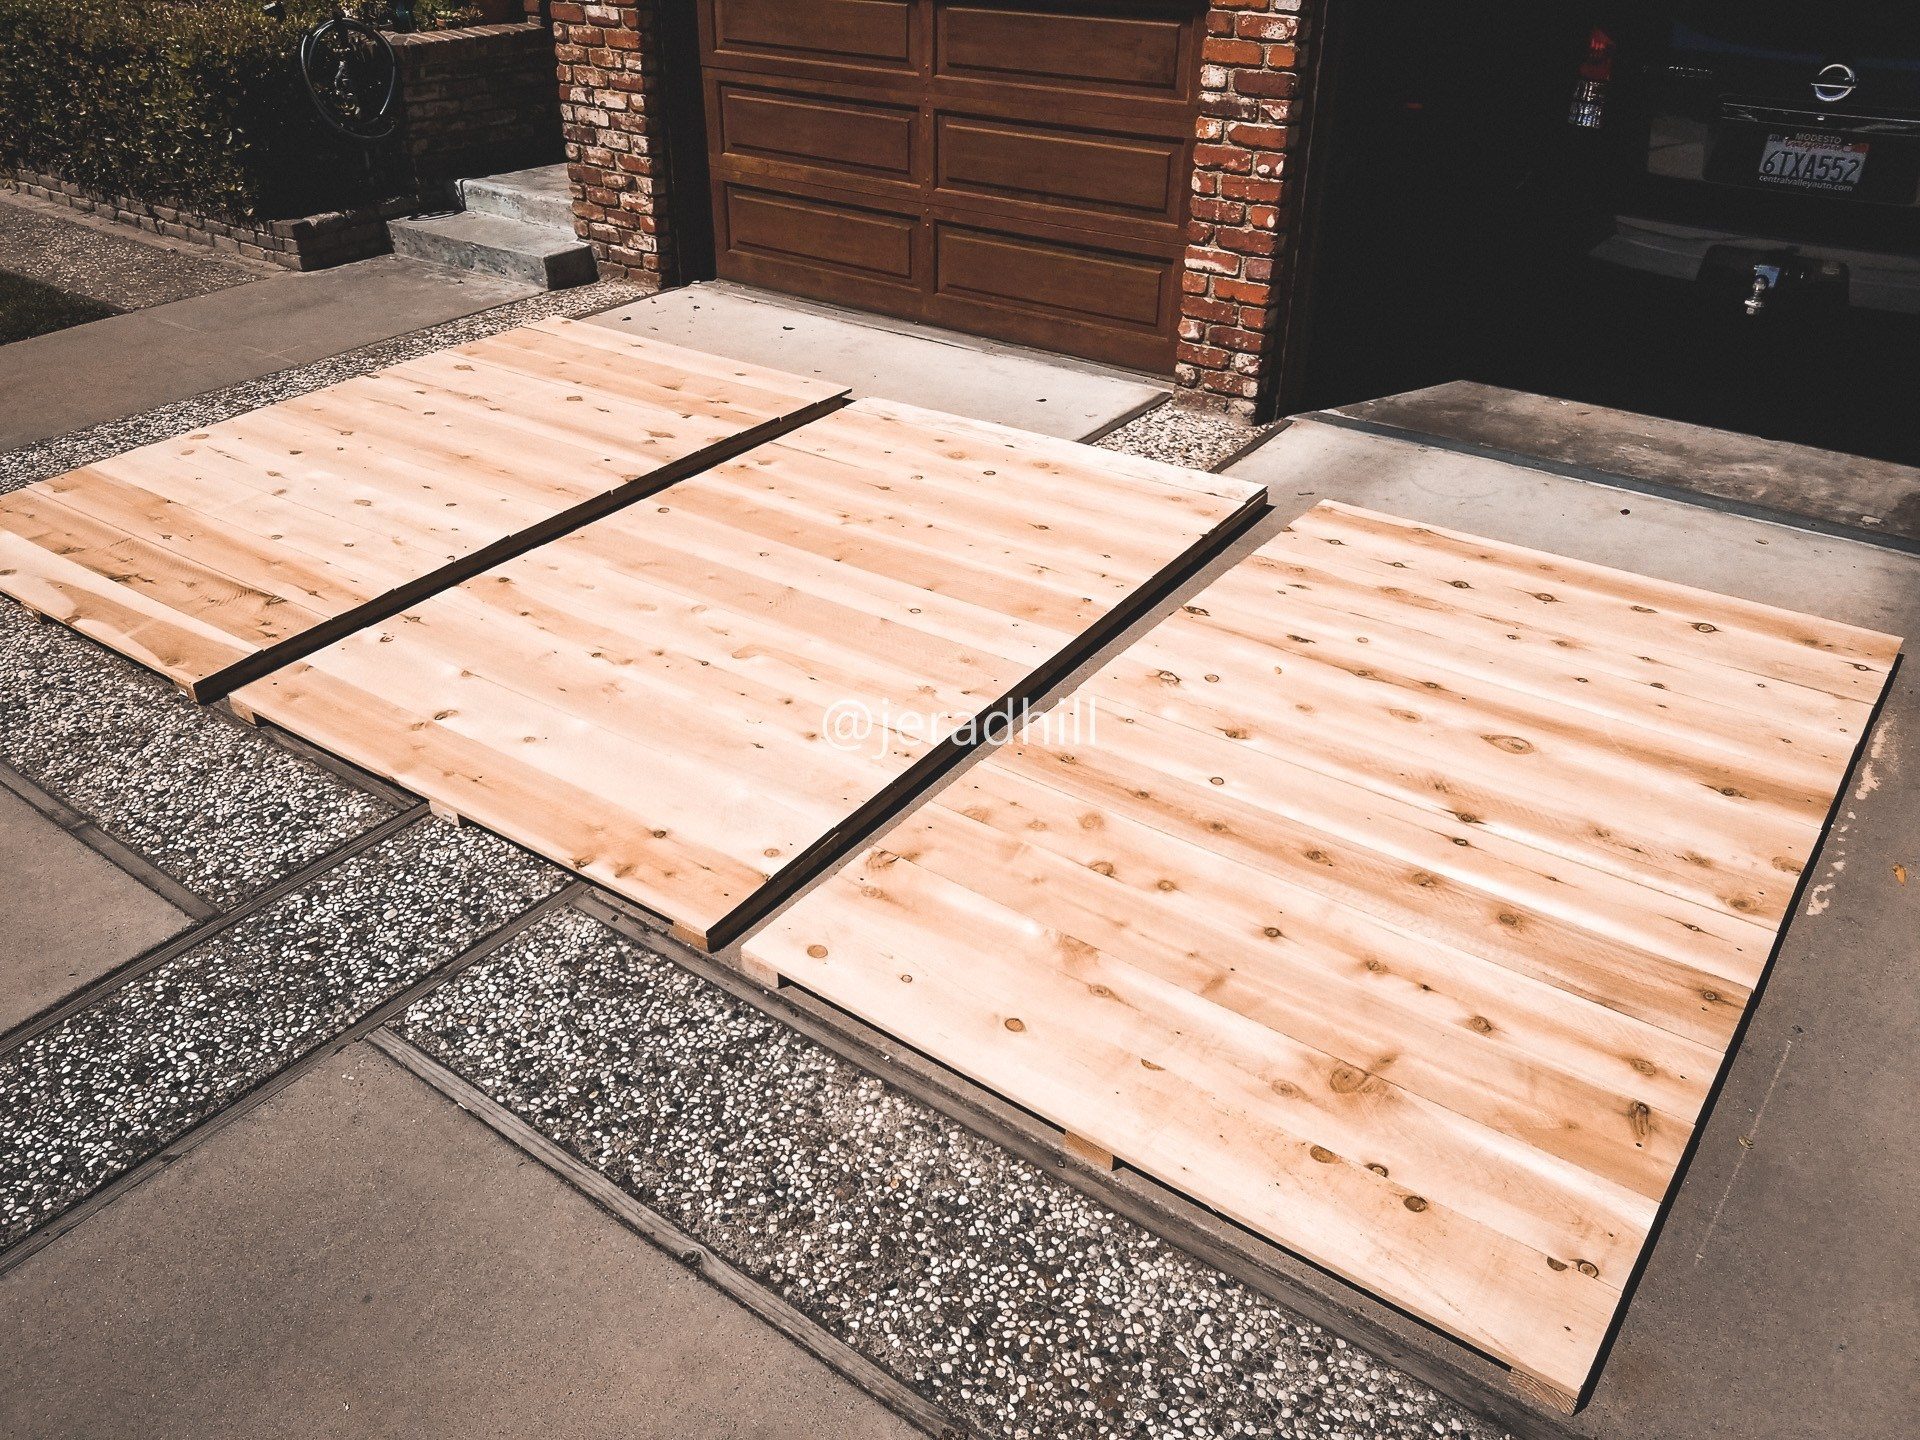
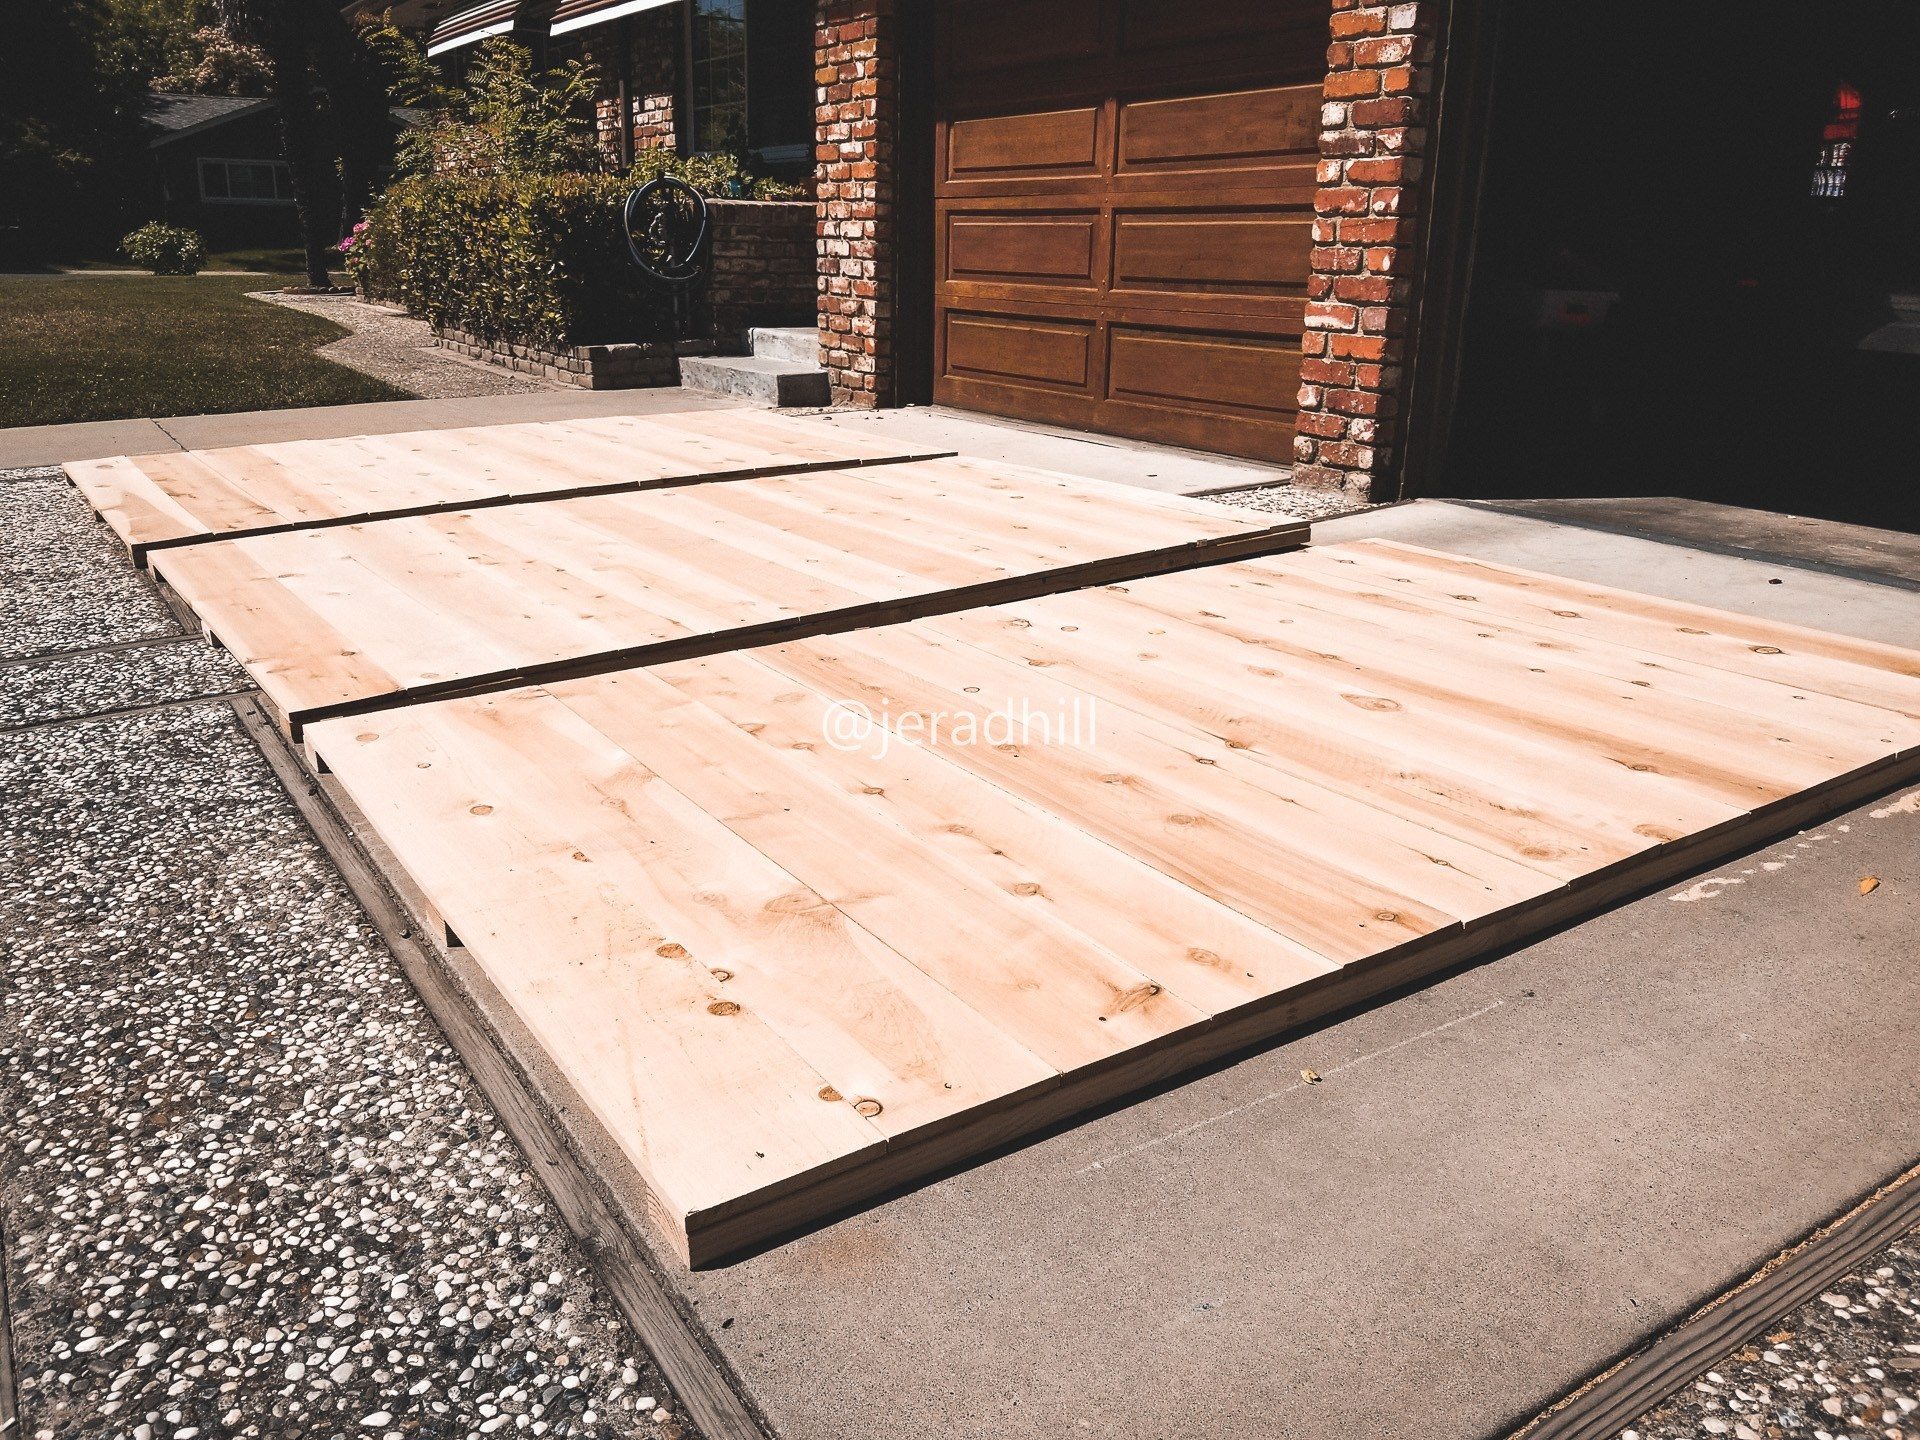
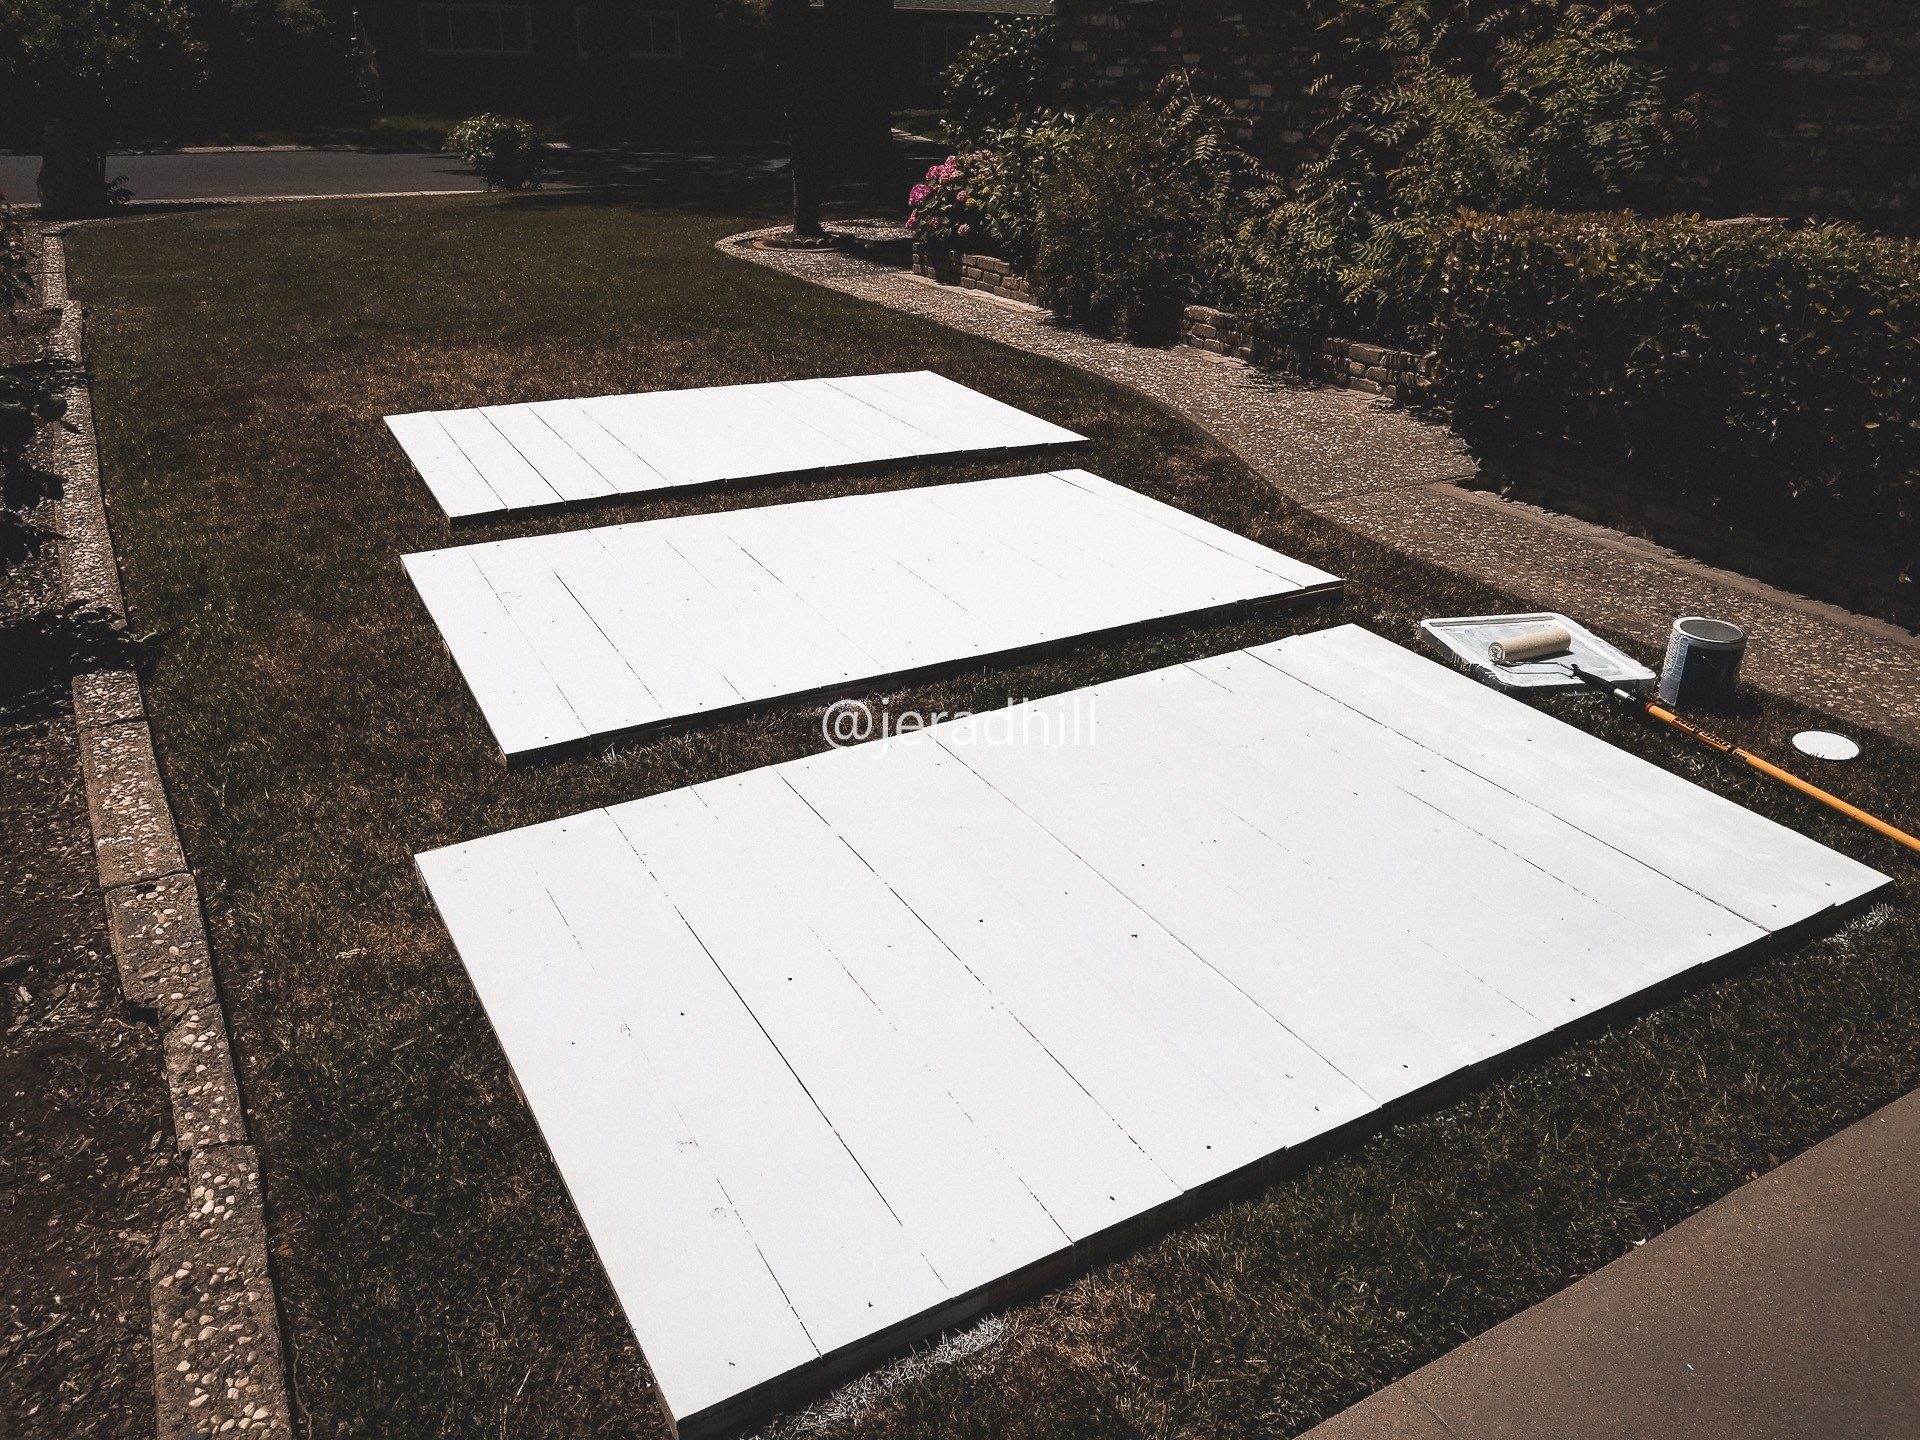
I ended up being short one board so I went to HomeDepot because it’s closer to my house. Their fence boards are 5.5″ instead of 6″. I was not about to drive all of the way to Lowes to get one single board so I bought one and one of my walls was slightly shorter than the other two. It ended up not looking bad at all. I could have cut down two of the other boards but I did not have a table saw to assure ripping a half of an inch off of the six-inch boards was perfect.
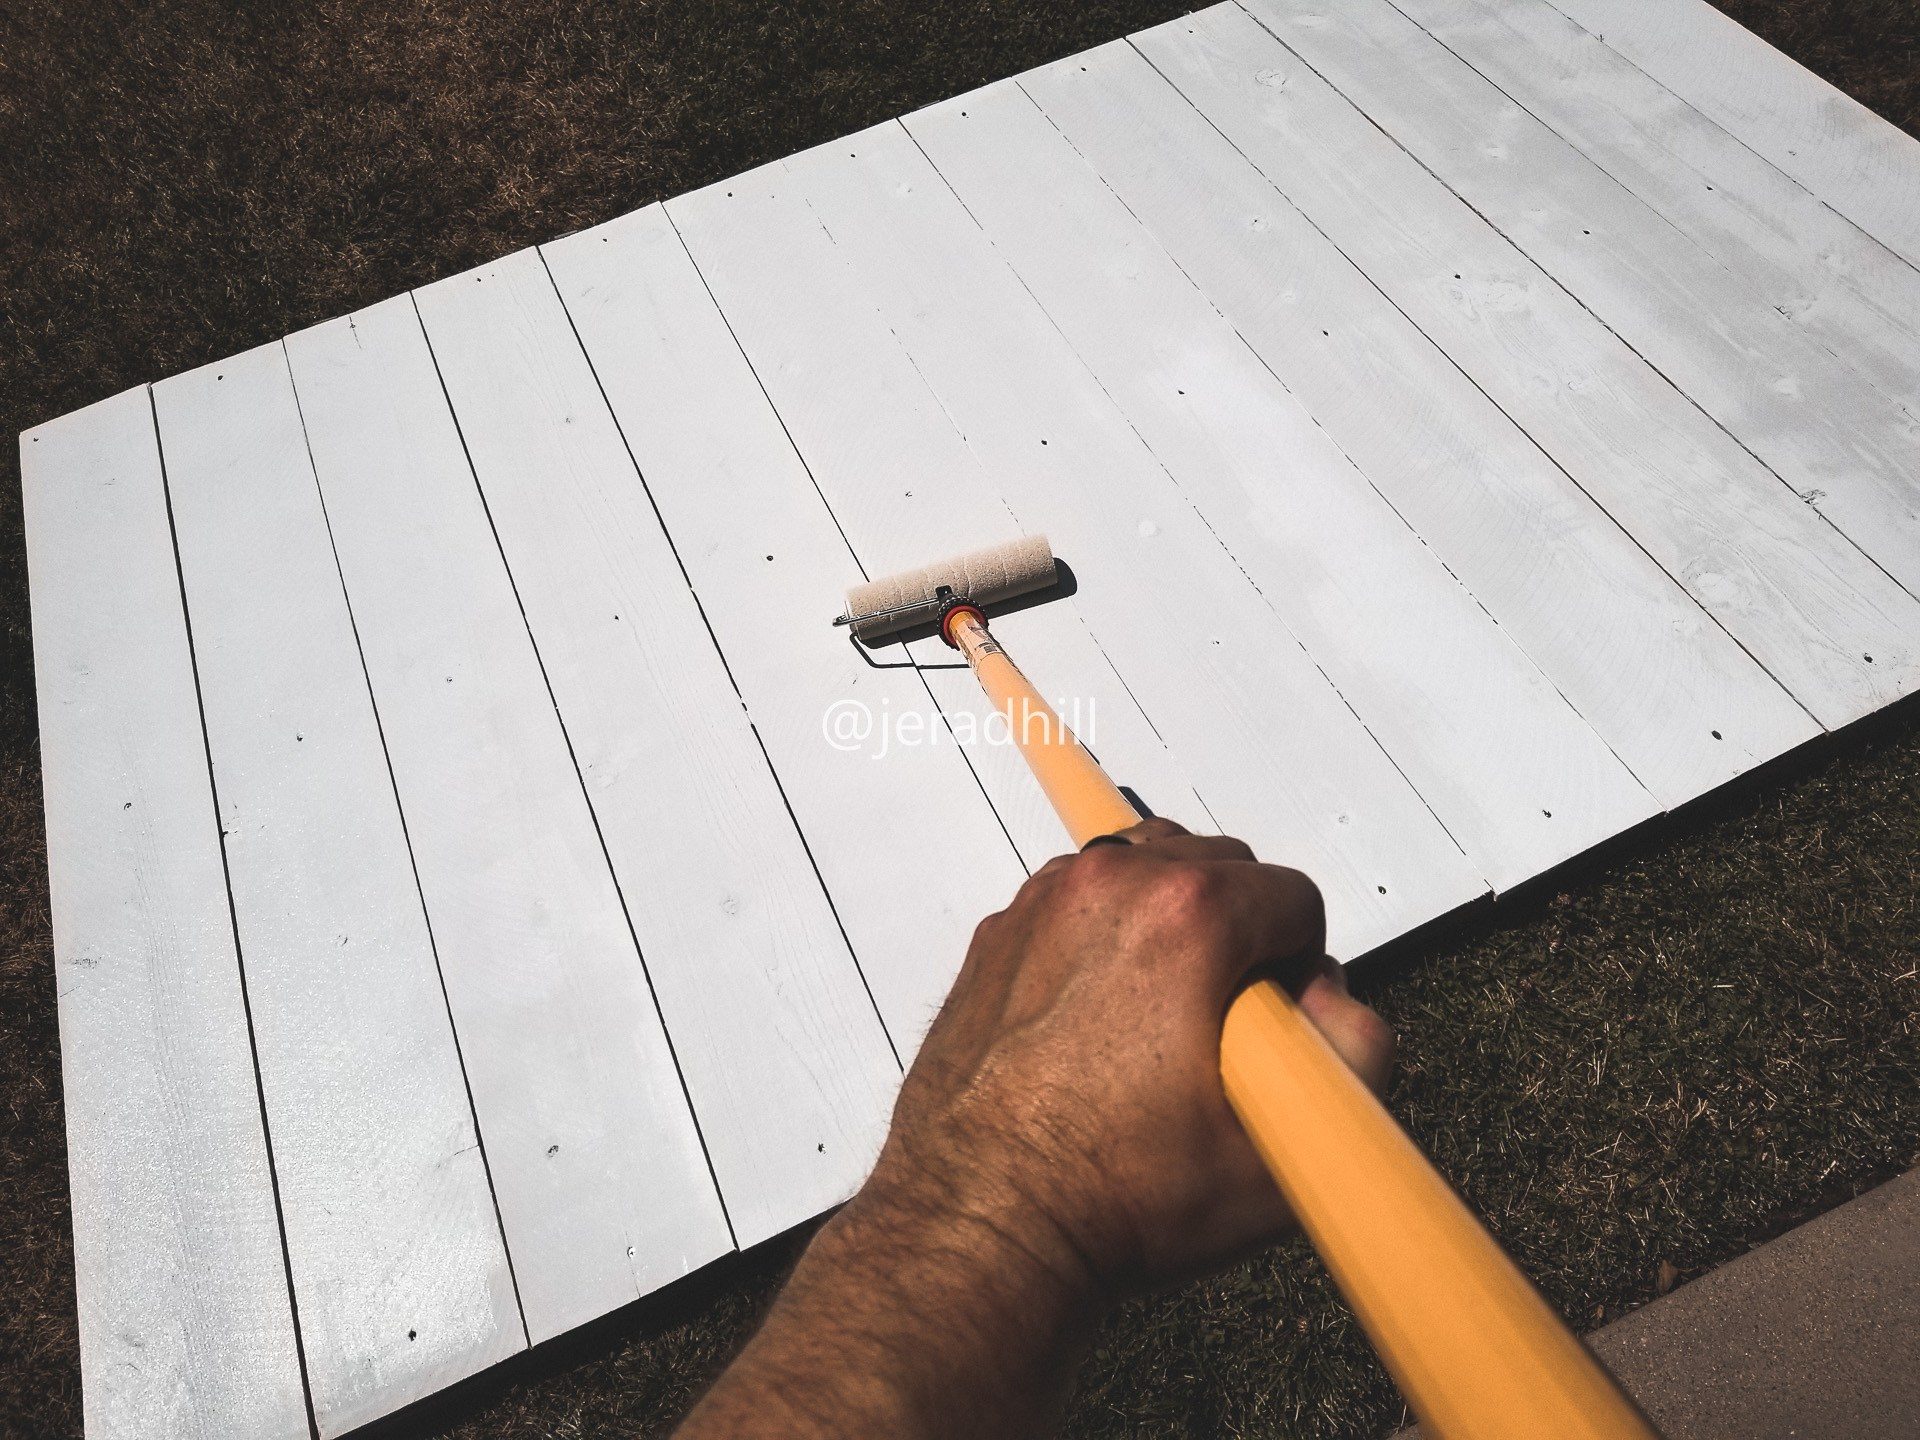
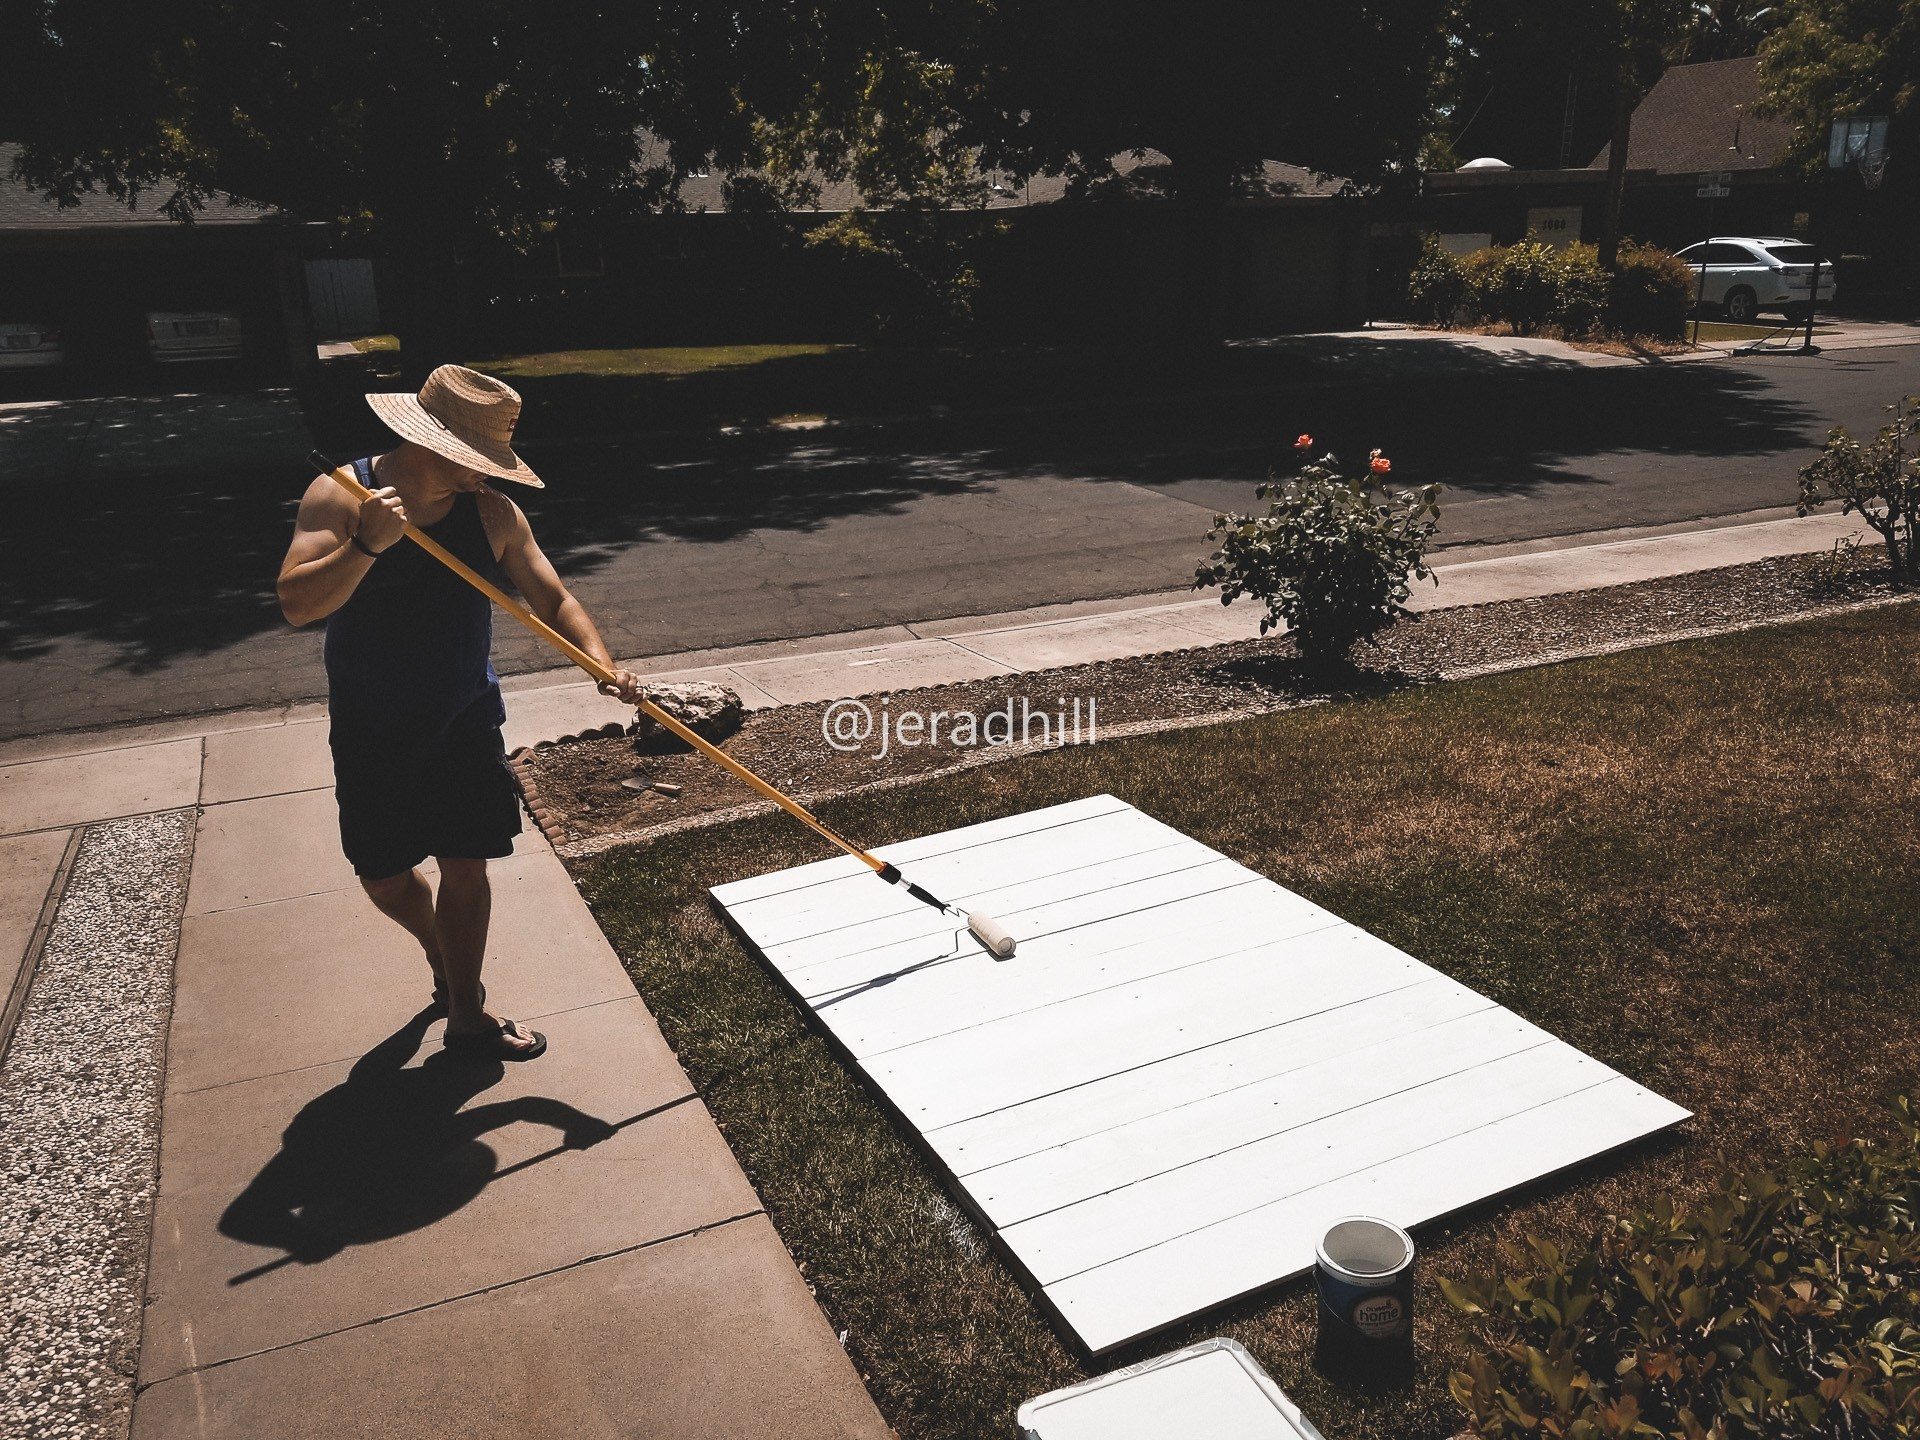
The next step was painting. Fence boards can absorb some paint. It took the entire gallon of paint to cover these boards. I went over them twice and I probably could have put another coat on them. The gallon of paint we bought was $18.00.
With the walls painted, I decided I should paint the sides because there will probably be a slight gap between them. I did not want anything unpainted showing through. In retrospect, I probably could have painted the side of the 2x4s that faces forward because through the boards you can just barely see the 2×4’s running down the walls. Painting the 2x4s would have been a nice finish touch.
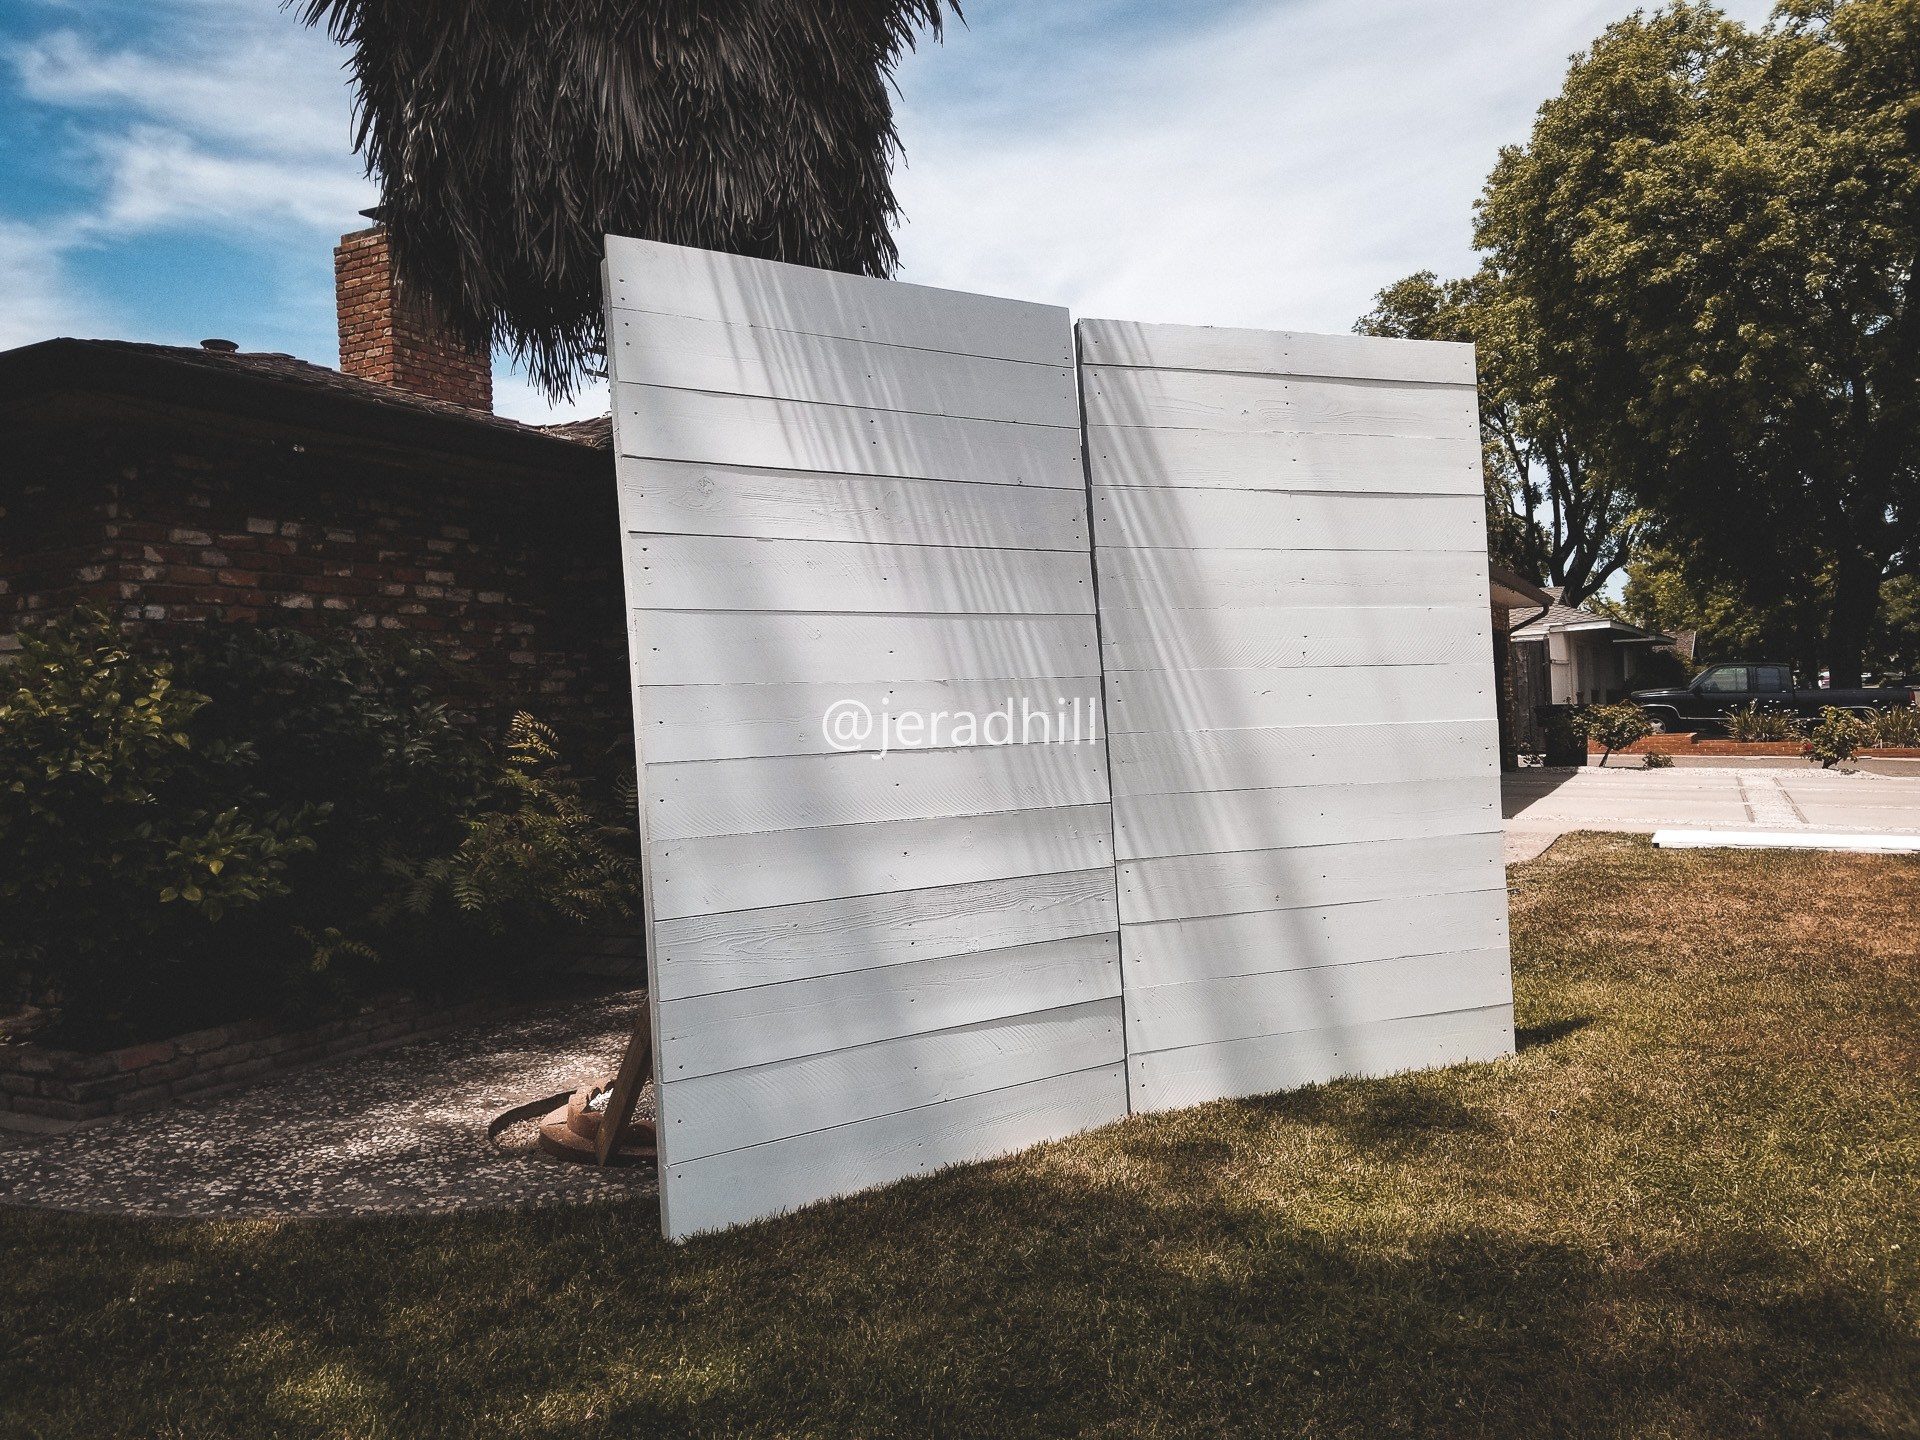
My wife wanted to see how they looked standing up so I quickly stood them up so we could take a look.
Before packing the walls up, I took a selfie!
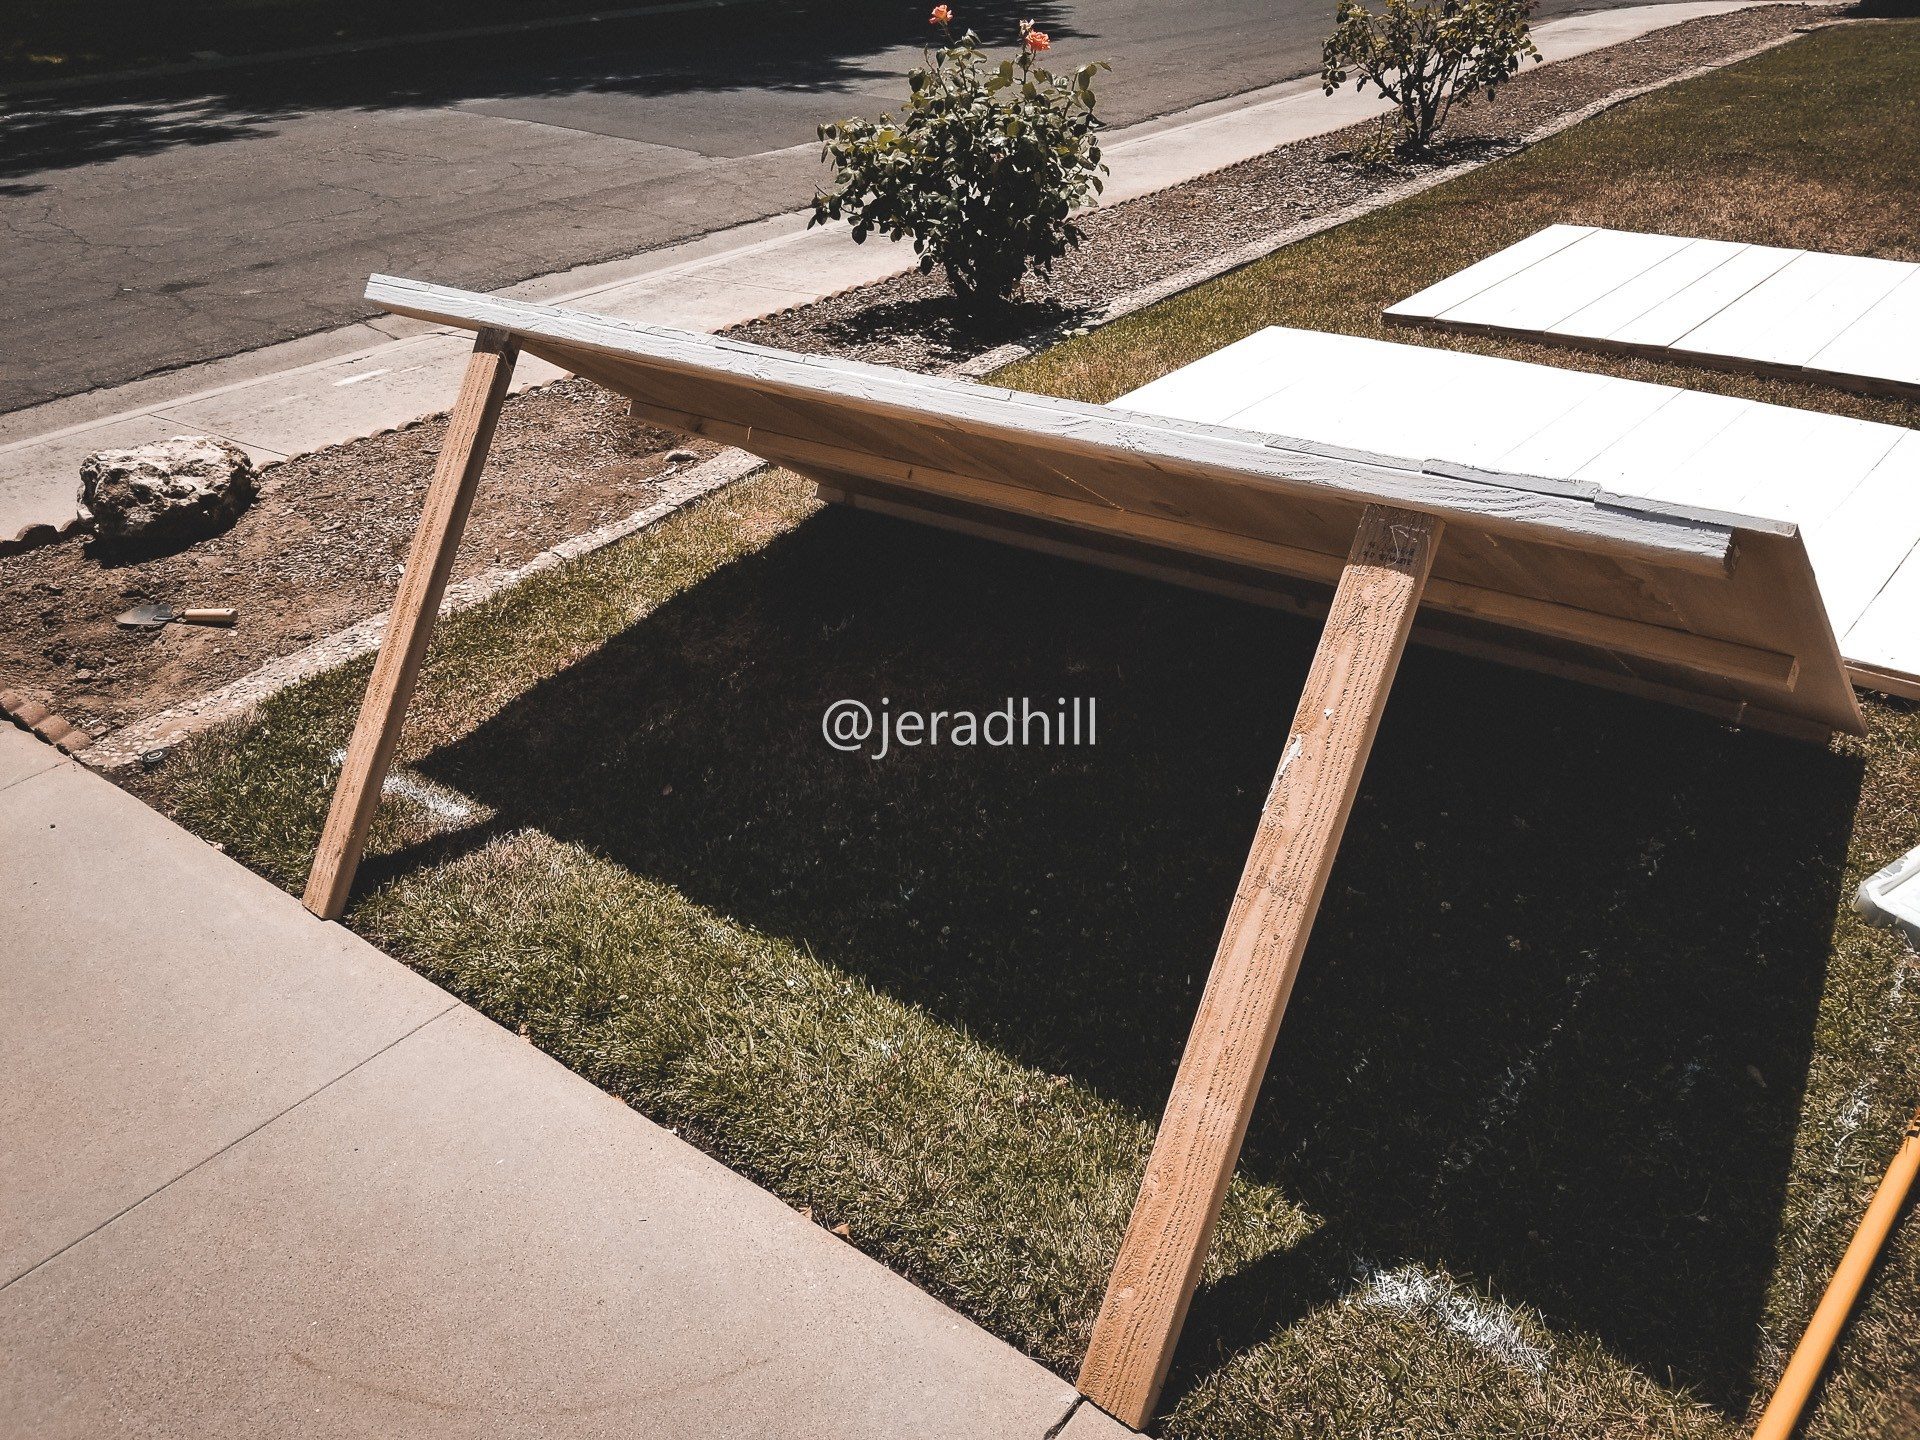
I built the walls to use them as a photo backdrop at a Market my wife and a couple of her friends put on each year. I wanted to make sure they were sturdy because the last thing I wanted was one of these walls to come down. I bought some metal T-Post posts, which are the same posts used for a temporary fence, and slammed them into the ground. You will need a Fence Post Driver to slam them into the ground. If the ground is hard, these will be a pain to remove from the ground. I was ok with that because I wanted this wall to be able to withstand some wind or something leaning up against it.
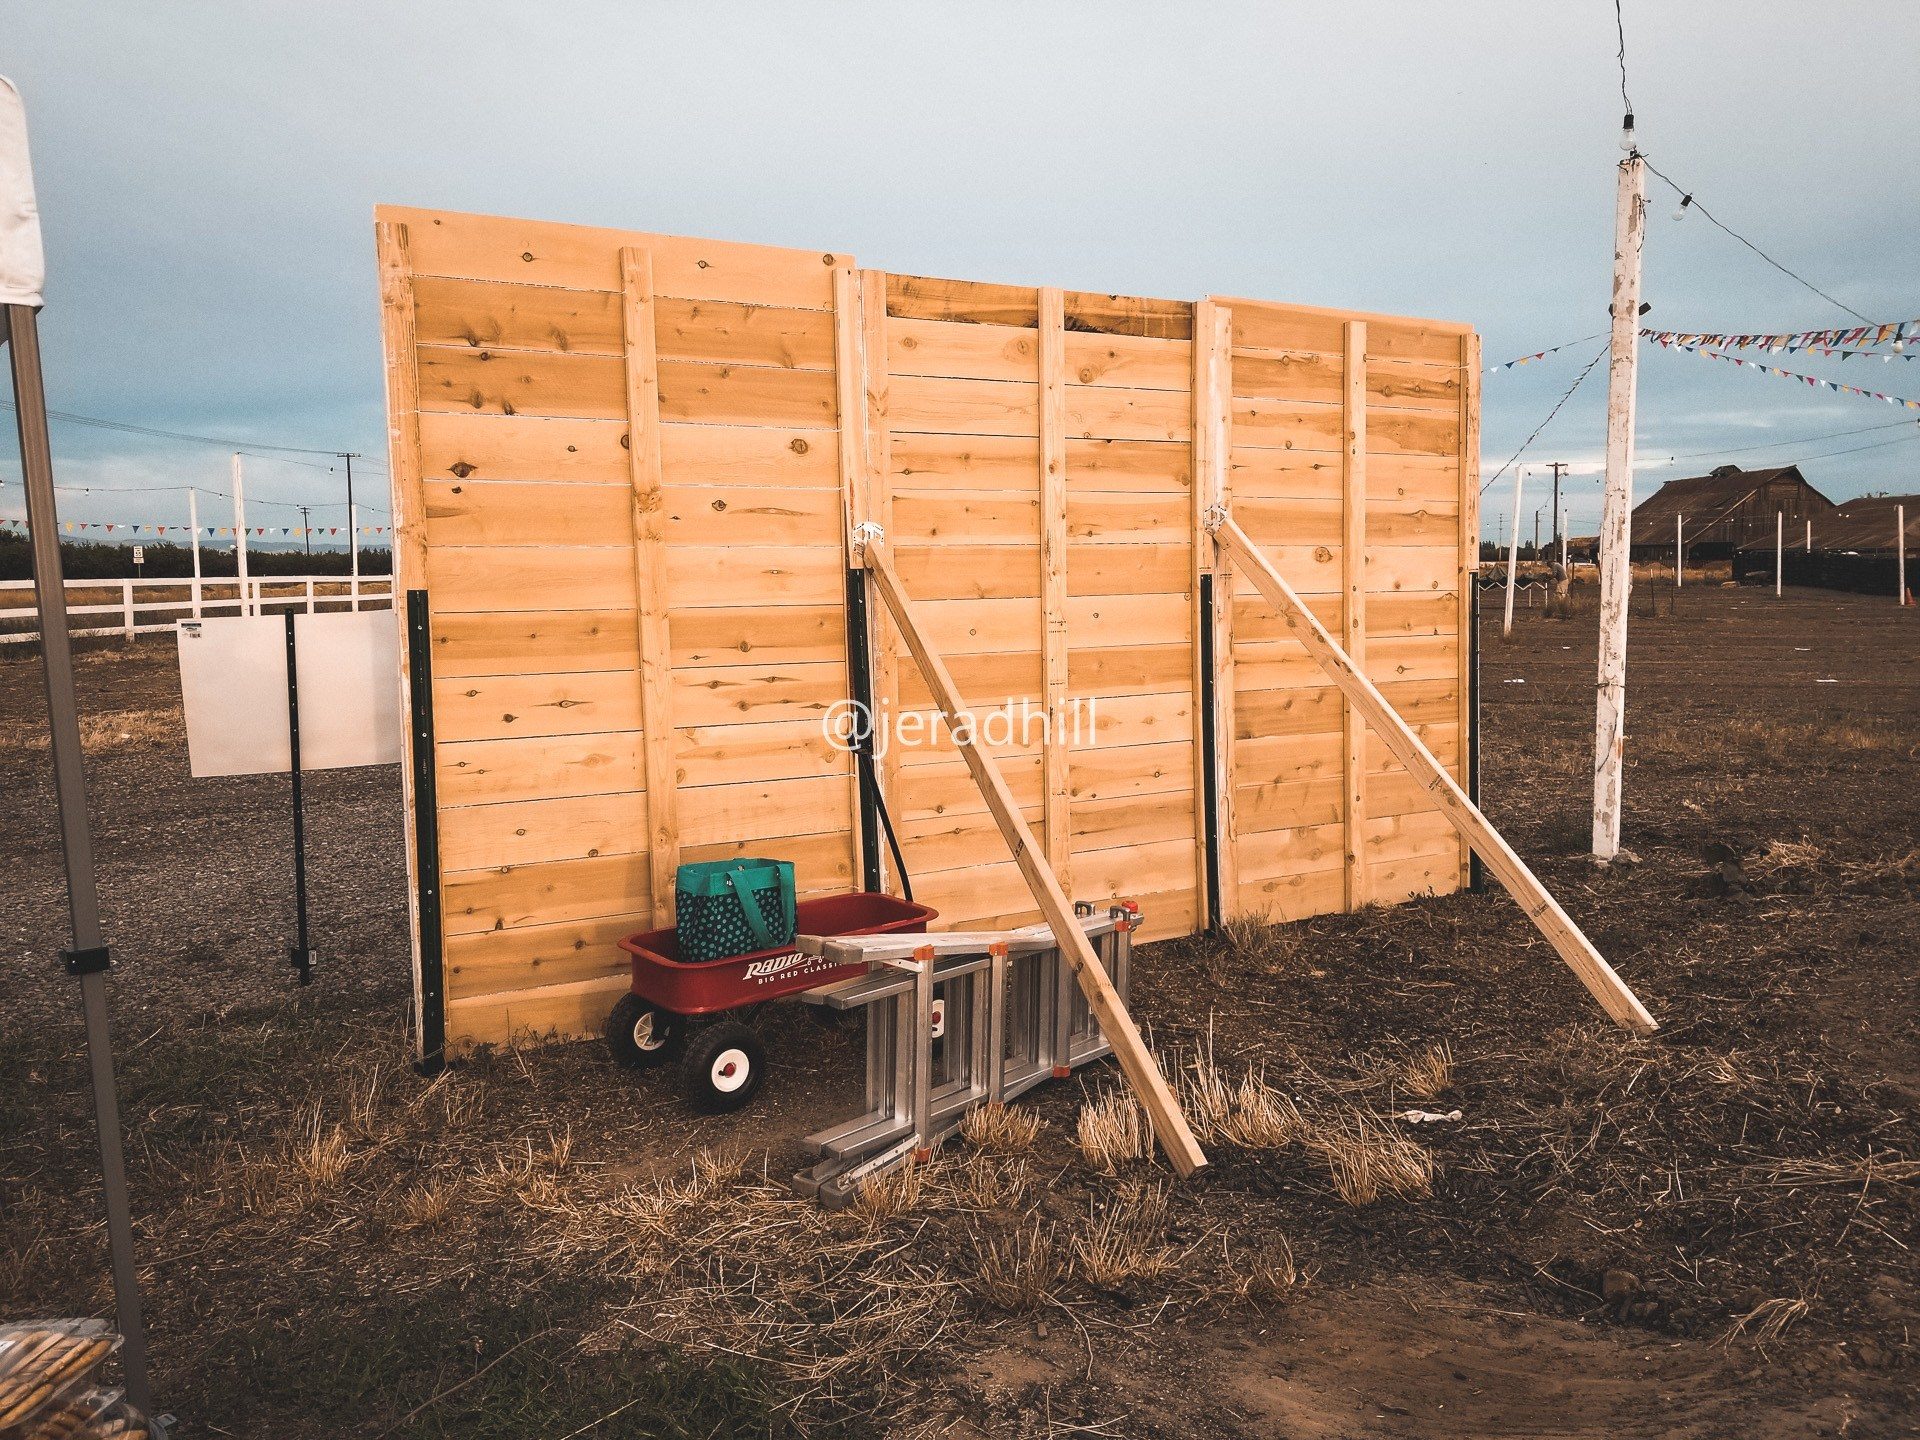
You can see the green T-Posts running down the 2x4s. I used 5/16″ x 2″ lag bolts to attach the T-Posts to the back of the walls. I used lag bolts because I wanted something strong.
5/16×2″ Lag Bolts: https://www.lowes.com/pd/Hillman-5-16-in-x-2-in-Stainless-Steel-Lag-Bolt/3701954
Just in case I needed them, I brought a few extra 2x4s to attach to the walls mid way and run down at an angle to the ground. You can see two of them in the image. The wall did not need these, but I figured I would put them there just in case. We set the walls up the night before and I wanted some extra protection against wind. Enough wind or someone pushing on the walls could bend the T-Posts and make the walls fall. The two additional supports made it stronger and gave me peace-of-mind.
I attached the 2×4’s to the wall with a couple of Joist Hangers and put two small wood stakes in the ground where the 2x4s met the ground. I used screws to attach the 2x4s to the wood stakes in the ground. I was done!
1-3/4-in x 5-1/16-in Triple Zinc Slope/Skew Hanger: https://www.lowes.com/pd/USP-1-3-4-in-x-5-1-16-in-Triple-Zinc-Slope-Skew-Hanger/3375802
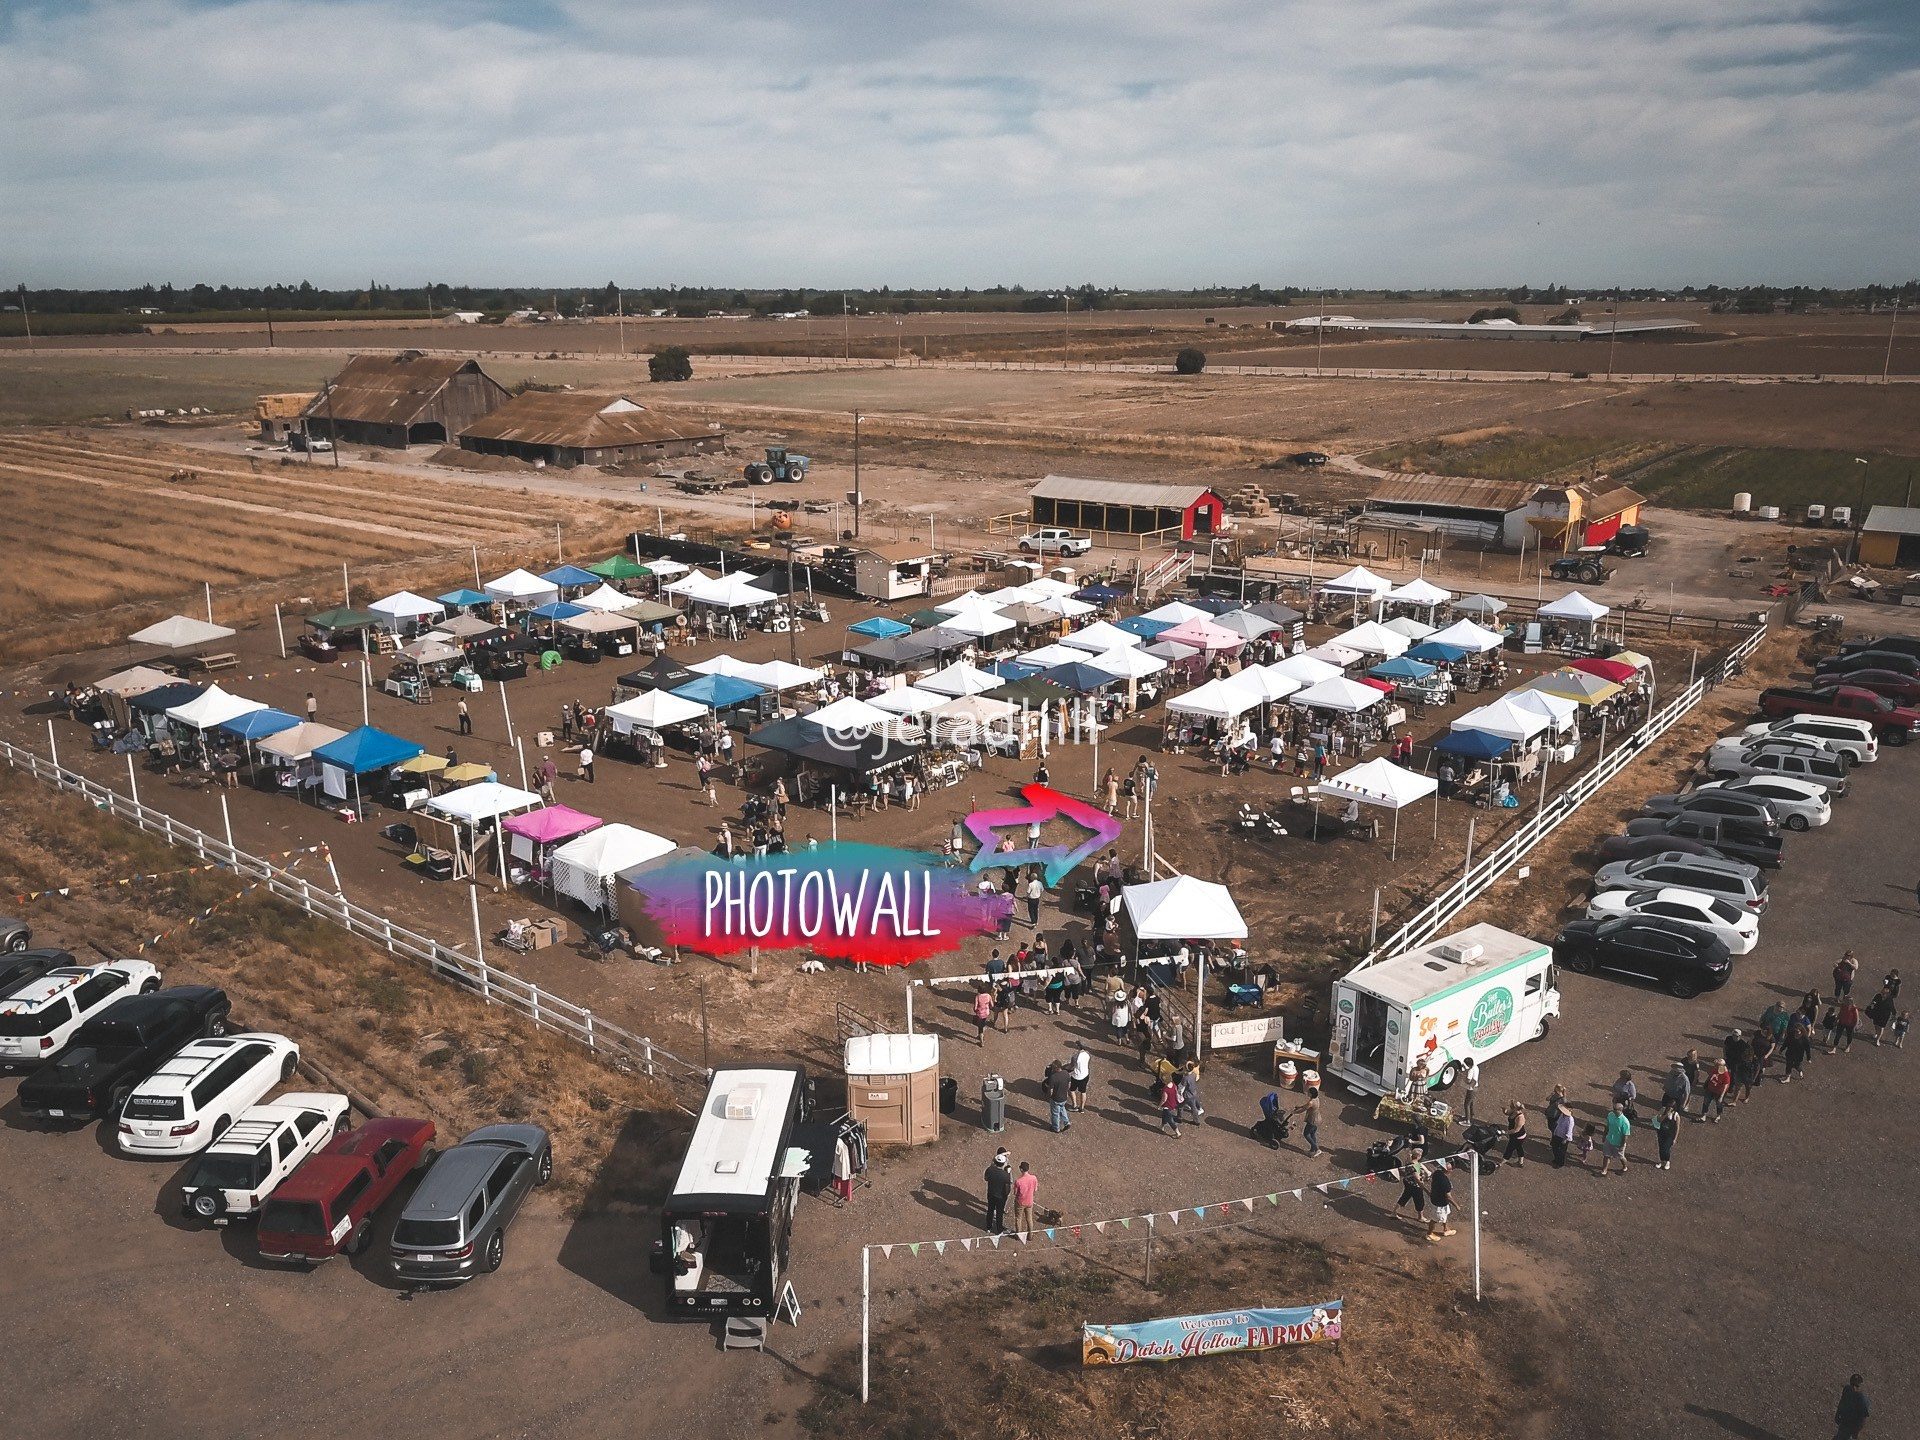
Check out my wife’s market: https://fourfriends.market